
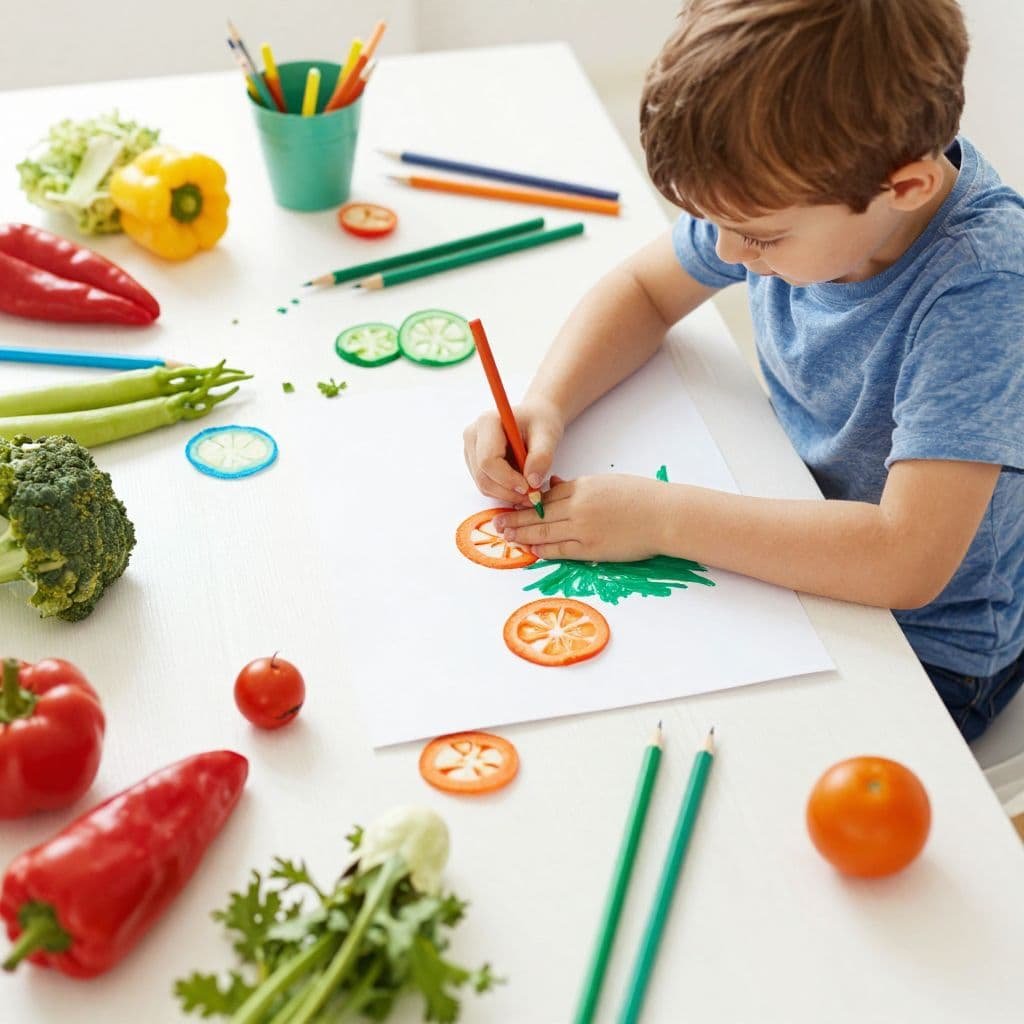
A rainy afternoon, a kitchen table, and a pile of simple vegetables can turn into a small art studio in minutes. With vegetable painting for kids, you can make low-cost stamps that help children play with shapes, colors, and textures while keeping cleanup manageable.
Potatoes, okra, celery, and peppers can all leave fun prints, and kids usually love the surprise of seeing what each one can do. It also gives parents, teachers, and caregivers an easy way to mix creativity with hands-on learning, and it can be a sweet way to spend time together, too, much like these positive parenting strategies for toddlers.
If you want simple setup ideas and 15 vegetable stamp ideas you can try right away, keep reading.
Why vegetable painting is such a good art activity for kids
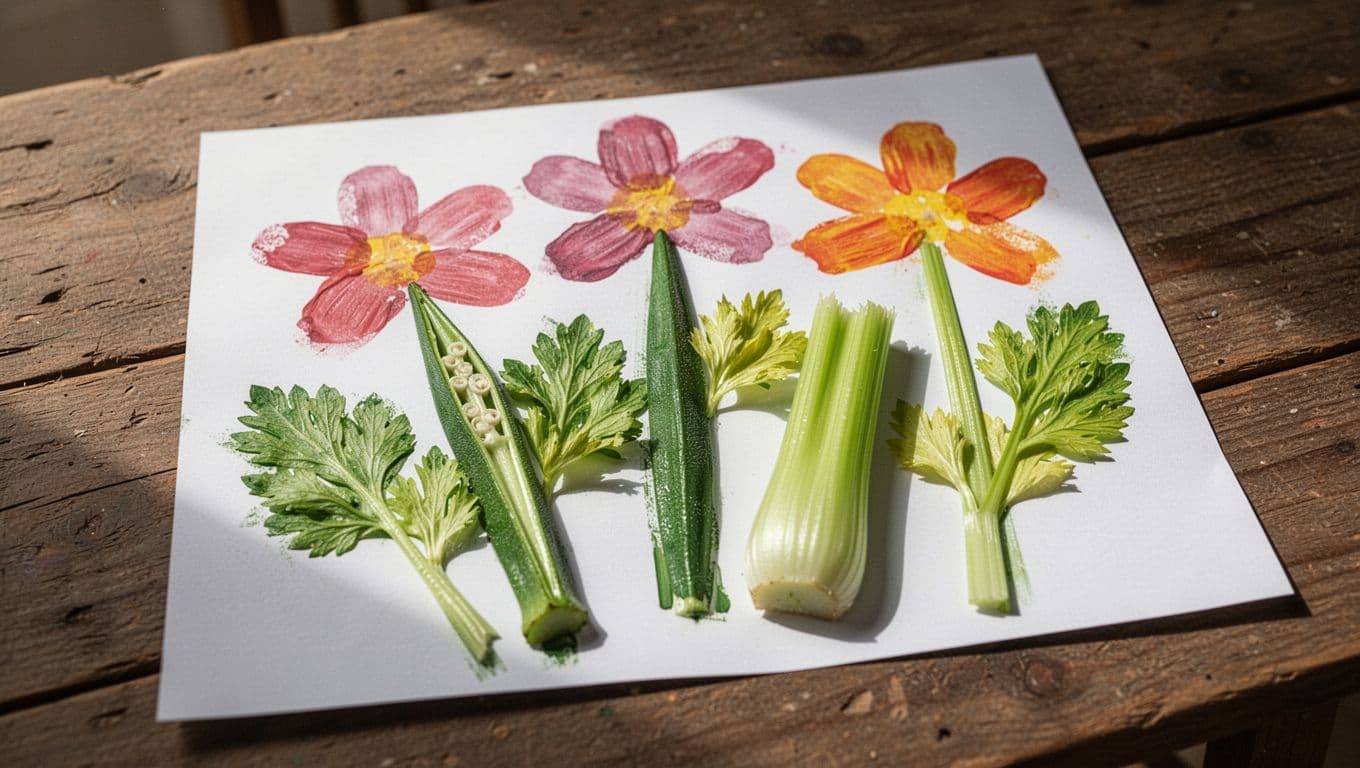
Vegetable painting gives kids the kind of play that feels messy, bright, and full of surprises. A potato can make a square, okra can stamp little stars, and celery can look like a flower when it meets paint. That mix of texture, color, and pattern keeps children interested while they learn through their hands.
It also works well across ages. Toddlers can dip and press with help, preschoolers can explore shapes on their own, and early elementary kids can try patterns, color mixing, and simple picture scenes. If you want more ideas for age-based play, developmental play activities by age can help you match the activity to your child.
How it helps little hands and growing minds
Vegetable stamping builds fine motor skills in a simple, child-friendly way. Kids grip a vegetable, dip it into paint, and press it onto paper, which gives their fingers and hands real work to do. That repeated motion helps with hand strength, wrist control, and hand-eye coordination.
It also teaches cause and effect. A child presses a carrot, and a shape appears. A celery stalk leaves a leafy print. That moment of surprise is part of the fun, and it helps kids notice how their actions change what happens next.
As they stamp, children also start comparing shapes and patterns. They see circles, ridges, lines, and textures, then begin to repeat them on purpose. That kind of play feels like magic, but it is also early learning in action.
For more on how stamping supports young children, fruit and vegetable stamping ideas offer a helpful classroom-style example.
Why parents and teachers love it too
Vegetable painting is easy to set up, and that alone makes it a win. You only need a few kitchen items, some paper, washable paint, and a little space to work. It is also budget-friendly, since many of the best stamp tools are already in the fridge or pantry.
Cleanup stays manageable when you use a tray, newspaper, or an old tablecloth. That makes it a smart choice for quiet time, classroom centers, birthday parties, or a weekend project at the kitchen table.
Parents and teachers like it because it keeps children busy without a complicated plan. There is room for free play, but there is also enough structure to keep things calm and focused. For more easy family activity ideas, fun things to do with kids fits this kind of low-stress play perfectly.
The best part is the surprise. Kids never know exactly what shape will appear, so every stamp feels fresh.
That surprise keeps them curious, and curiosity keeps them coming back for another print.
What you need before you start stamping
A little prep makes vegetable stamping feel smooth instead of scrambled. Once the supplies are ready, kids can focus on the fun part, pressing shapes into paint and watching each print come alive on the page.
The best setup is simple, sturdy, and easy to clean. You don’t need a long supply list, just a few basics that help the activity stay colorful and less messy.
Simple supplies that work best
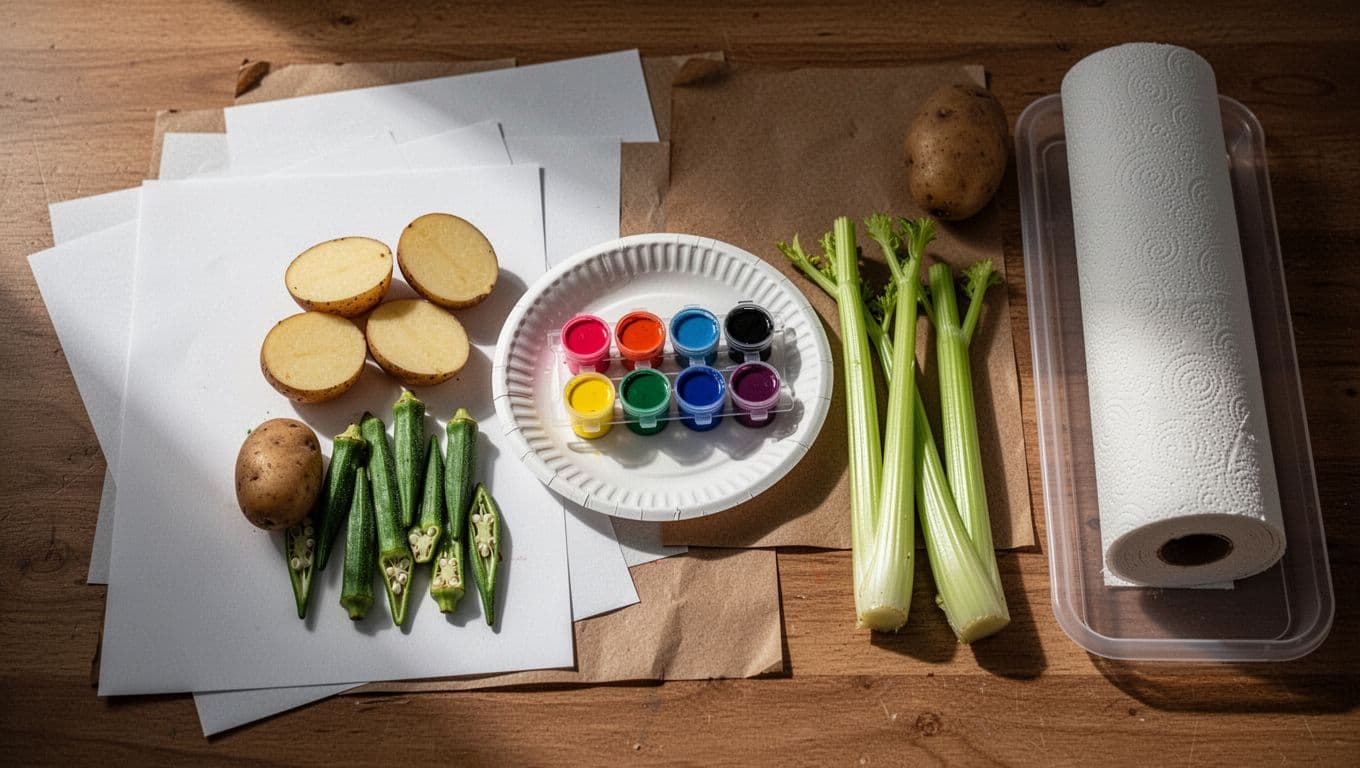
Start with vegetables that have clear shapes and flat cut sides. Potatoes, okra, celery, bell peppers, carrots, and onion halves all make interesting prints. A few sturdy tools help too, so the activity stays easy from start to finish:
- Washable paint for easy cleanup and kid-friendly play
- Thicker paper such as construction paper or cardstock
- Paper plates or trays for holding small amounts of paint
- Wipes or paper towels for quick cleanups
- Aprons or an old table cover if you want less laundry later
Washable paint is the best pick for kids because it spreads well and rinses off more easily than heavier craft paint. Thicker paper also matters, since thin paper can curl or tear when it gets wet. If you want bright, bold prints, white paper shows colors best. Brown paper or cardboard can work too, and both give the artwork a warm, handmade look. For more ideas on easy indoor art setups, fun indoor art ideas for kids fits this kind of project well.
Easy prep and cleanup steps
Before kids start stamping, cut the vegetables with an adult and dry the cut ends with a paper towel. That small step helps the paint stick better and gives you cleaner prints. Wet surfaces can blur the shape and make the stamps slide.
Next, pour a small amount of paint onto a tray or plate. Too much paint turns the stamp soggy, so a little goes a long way. Keep wet wipes nearby, then tuck paper towels within reach for sticky fingers and quick resets.
A simple cleanup routine makes the activity easier to repeat. Put used vegetables on one side of the table, stack finished pages on the other, and wipe the tray before the paint dries. If you want another messy-but-manageable art idea, painting rocks with kids works with the same kind of easy prep.
The 15 vegetable stamp ideas kids will actually enjoy
Every vegetable has its own little personality. Some make circles, some make stars, and some leave behind bumpy texture that looks almost alive on the page. That variety is what makes vegetable painting for kids so fun, because each stamp feels like a new surprise waiting in the paint tray.
A few simple cuts can turn kitchen scraps into art tools. Once kids see how one stamp makes a flower and another makes a swirl, they usually want to try every vegetable in sight. That mix of shape, color, and texture keeps the activity fresh from the first print to the last.
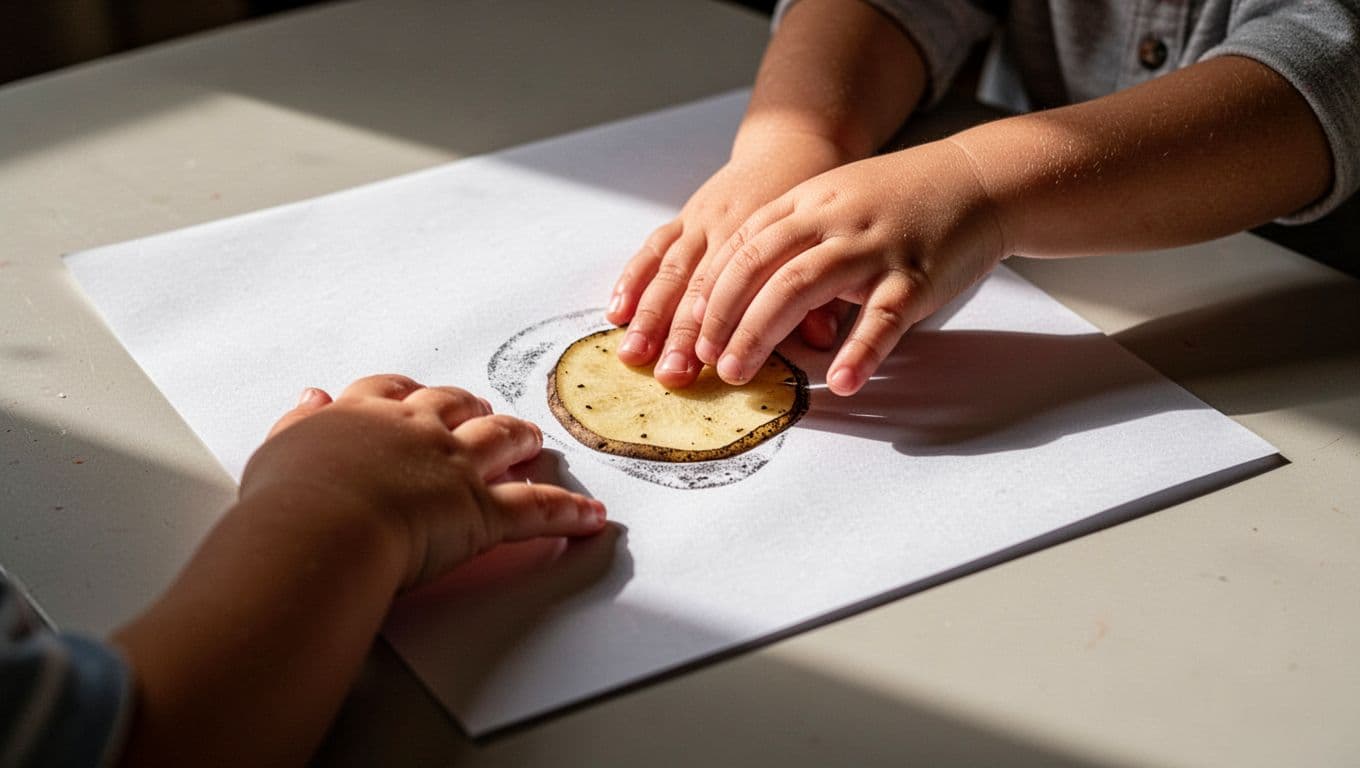
Potato stamps for stars, hearts, and simple shapes
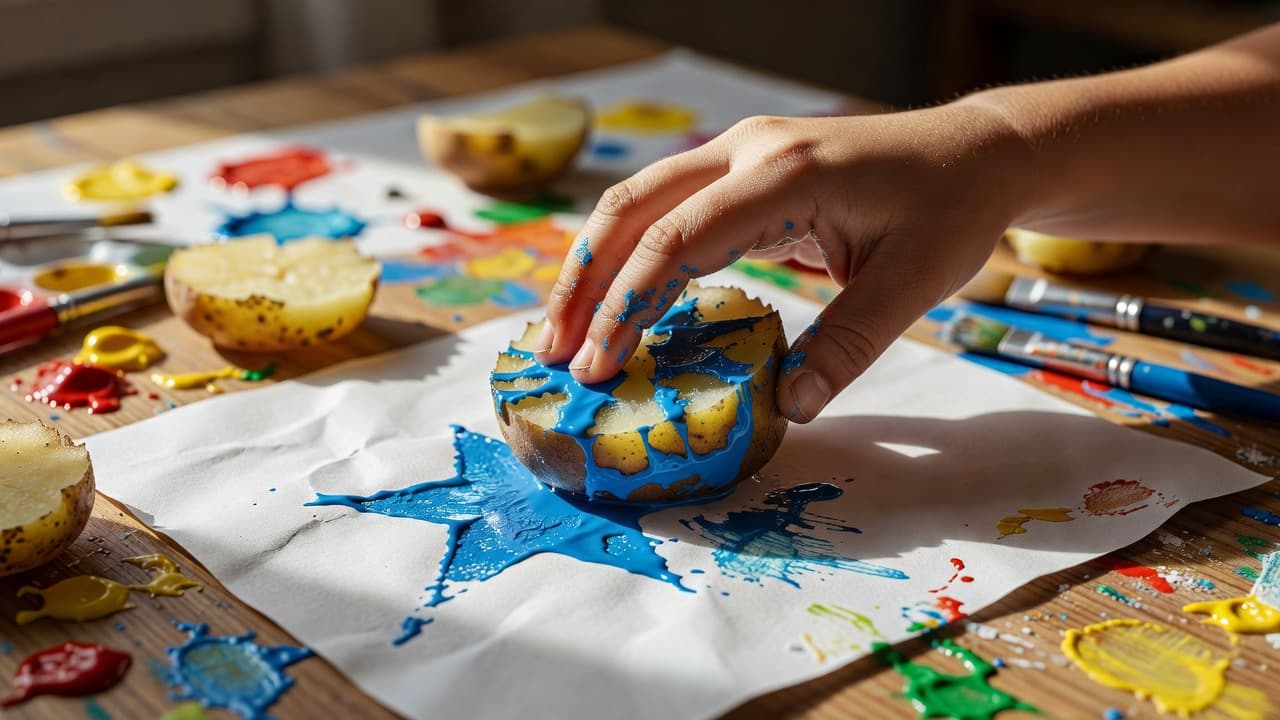
Potatoes are one of the easiest vegetables to stamp with. They cut cleanly, hold their shape well, and press down with a solid, even surface that young kids can handle without much fuss. For beginners, that makes them a great place to start.
You can carve simple shapes into the flat end, such as a star, heart, or triangle. You can also leave the cut surface plain and use it as a big block stamp for bold prints. Kids like potatoes because the results are easy to see right away, and that quick payoff keeps them interested.
Try making a row of stamped stars across a banner or letting kids build a pretend night sky on dark paper. A plain potato circle can also become a face, a sun, or the center of a flower.
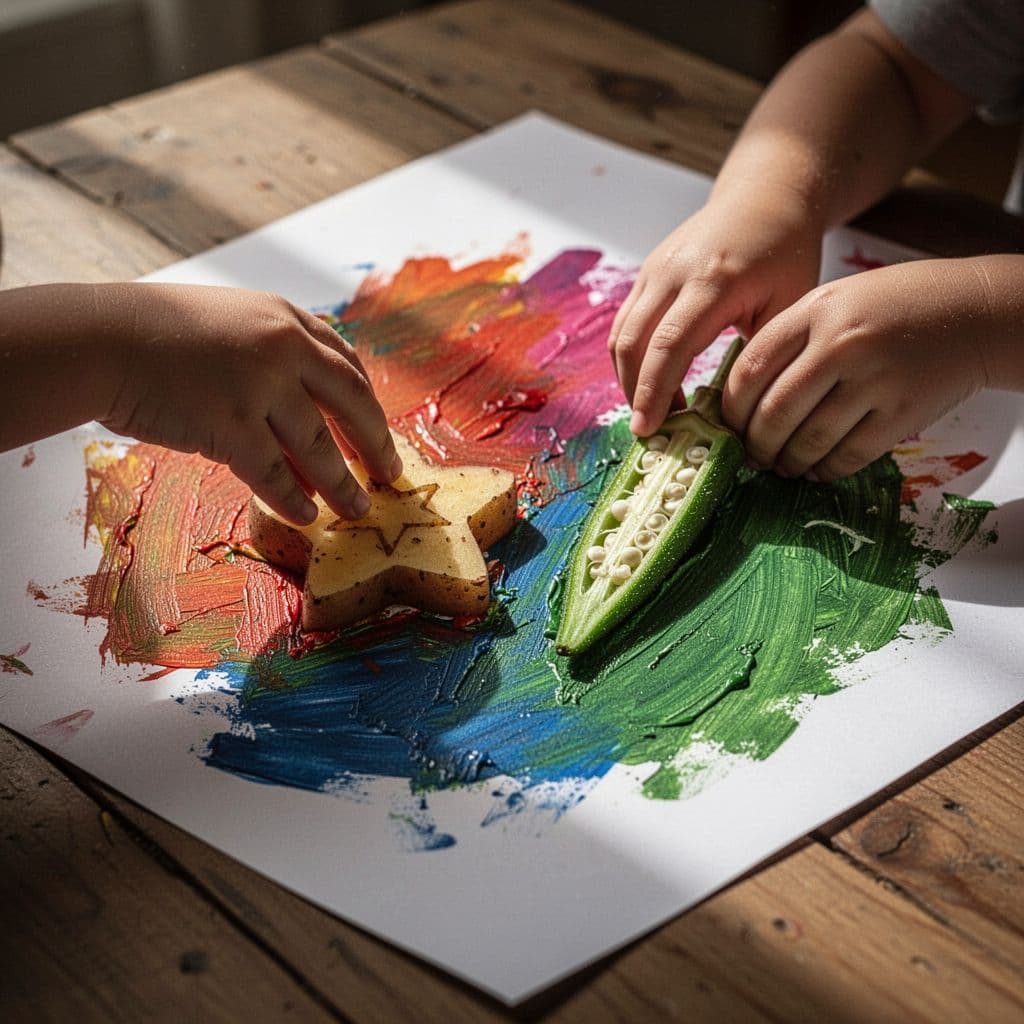
Okra prints that look like tiny flowers
Okra has a natural star-like cross section, so it stamps like a little flower all on its own. Kids usually notice the shape right away, and that makes it feel special before the paint even touches the paper. The edges leave a neat pattern that works well for borders and repeated designs.
These prints are especially fun on patterned paper. A child can make one row of okra flowers across the bottom of a page, then fill the rest with dots, leaves, or scribbles. The shape is small, so it also helps younger kids practice careful pressing.
For a simple project, use green or yellow paint and stamp okra around the edge of a card. It makes a sweet frame for a drawing or message.
Onion rings for circle art and galaxy effects
Onion rings make clean circles with soft, layered lines inside them. Those concentric rings give kids lots of room to play, since the same stamp can become a flower, a bubble, a planet, or even a tree trunk pattern. The shape feels simple, but it does a lot.
Kids often enjoy how the layers show up in the print. That subtle detail gives each stamp a bit of movement, almost like ripples in water. If you want a fun effect, let children stamp several circles in blue and purple paint, then add white dots after the paint dries.
A few onion prints on dark paper can look like a tiny galaxy. They also work well for flower art when kids add petals around the edges.
Celery stamps for feathers, scales, and textures
Celery makes long, feathery marks when you press the cut end into paint. Depending on the angle, the prints can look leafy, spiky, or softly textured. That makes celery a smart choice when kids want something less predictable than a plain shape.
You can stamp celery in a straight line to make grass, feathers, or fish scales. Turn the stalk slightly as you press, and the print changes again. Kids usually love that because they can experiment without needing perfect control.
For a simple scene, use celery to build a jungle background or a pond full of reeds. The texture adds life to the page without much effort.
A vegetable stamp does not need to be perfect to be fun. The uneven edges are part of the charm.
Carrot ends for dots, petals, and confetti prints
Carrot slices make small round stamps that are easy for little hands to press. They are simple, bright, and useful in many kinds of art. Because the shape is small, kids can repeat it again and again without filling the page too fast.
These little circles work well as polka dots, flower centers, or confetti on party-style paper. You can also stamp them in a trail to make a path, a caterpillar, or the petals around a bigger shape. The best part is how flexible they are.
If you want a spring theme, let kids stamp carrot circles in pink, orange, and yellow. Then add stems and leaves with markers after the paint dries.
Bell pepper shapes for bold printmaking
Bell pepper halves make larger open shapes, which gives kids a strong outline to work with. The hollow center and curved edges create prints that look bold on the page, especially when you use bright paint colors. Red, yellow, and green peppers all bring a different feel to the artwork.
These stamps work well for flowers, abstract art, and seasonal crafts. A child can stamp one pepper shape in the middle of the page, then fill it with dots or lines later. That makes the print feel like both a shape and a frame.
For a fun project, use pepper halves to make a whole garden of oversized flowers on poster paper. The shapes are big enough to grab attention right away.
Lettuce leaves for soft, leafy textures
Lettuce leaves give off light, delicate prints that look airy rather than sharp. That softness makes them useful for backgrounds, borders, and garden-themed scenes. Kids often like the way the leaf veins appear after stamping, because the print looks almost like lace.
Try pressing a leaf gently into paint and then onto paper without smoothing it too much. The edges and veins show up in a loose, natural way. As a result, the page starts to look like a patch of plants or a soft wash of greenery.
Lettuce works well behind flowers, bugs, or butterflies. It adds a gentle layer without stealing attention from the main picture.
Cabbage leaves for big organic patterns
Cabbage leaves make larger prints with strong vein lines and curving edges. The structure of the leaf gives each stamp a dramatic look, almost like a topographic map made in paint. Kids usually enjoy the size of the print because it fills space quickly.
You can stamp cabbage in one color for a bold background or use several shades for a layered garden effect. The veiny pattern looks especially good in blue, green, or purple. It gives the art a rich texture that feels different from smooth stamps.
For a simple project, make a giant cabbage print in the center of a page and turn it into a flower, a sea creature, or a leafy tree crown.
Broccoli stems and florets for bumpy, playful texture
Broccoli gives you irregular prints that feel bumpy and fun. The florets leave tiny uneven marks, while the stem creates a more solid shape. That mix makes broccoli a great choice for kids who want texture instead of a neat outline.
It works well for trees, bushes, clouds, and underwater scenes. A child can stamp broccoli florets to make a leafy treetop or use the stem end for a trunk. The prints look natural and a little wild, which gives the artwork more energy.
Broccoli is also good for mixed scenes. One stamp can become a bush, then another can become a sea sponge or a cloud.
Corn on the cob for repeating lines and stripes
Corn cobs have ridges that make striped prints when you roll or press them across paper. The pattern is easy to spot, and kids usually like how the lines repeat. That steady rhythm makes corn a nice choice for backgrounds and borders.
A paint-covered cob can leave strong textures that look like fabric or tracks. You can roll it across a page to make a path, a fence, or a strip of sky. It also works well in multiple colors layered over each other.
Use yellow, orange, or green paint for a harvest theme. Then let kids build around the stripes with leaves, pumpkins, or farm animals.
Gourds or squash slices for larger statement prints
Gourds and squash slices make big, bold shapes that fill the page fast. Their size is useful when kids want to create poster art or wrapping paper. The prints often have natural curves and uneven edges that make each one feel handmade.
Because the shapes are larger, children can use them as the main part of the picture. A slice might become a sun, a pumpkin, or the center of a giant flower. You can also repeat the same print across the paper for a strong pattern.
For a simple project, stamp gourds across kraft paper and turn it into custom gift wrap. It looks cheerful and personal with very little effort.
Mushroom caps for rounded, soft prints
Mushroom caps create smooth, rounded shapes that feel gentle on the page. Their curved tops work well for raindrops, petals, and tiny umbrellas in picture scenes. The print is simple, but that simplicity gives kids a lot of room to imagine.
The soft edges make mushrooms a nice option for younger children. They can press once and get a shape that looks complete without much extra work. That quick success keeps the activity moving.
Try using mushroom caps in a rainy-day picture with gray clouds, blue drops, and a few mushroom umbrellas scattered below. It turns a plain stamp into a small story.
Apple or pear halves for friendly fruit-and-veggie mix art
Apple and pear halves are optional extras, but they fit nicely into a kitchen-stamping project. Their shape is easy to recognize, so kids can compare them with the vegetables and spot the difference right away. That makes them useful for simple shape play.
These stamps work well when you want a broader fruit-and-veggie mix. A child can pair an apple circle with a potato star or a pear half with a celery leaf. The mix keeps the page playful and gives kids more visual variety.
Use them in a fruit basket scene, a pretend orchard, or a colorful pattern page. They add a friendly touch without pulling focus away from the vegetables.
Radish or beet slices for small, bright print accents
Radish and beet slices make tiny circles that pop against the page. Their color can be strong, which makes them useful for bright spots, berry shapes, or little accent dots. They are especially nice when you want a page to feel lively without covering every inch.
Beets can stain more than other vegetables, so a little supervision helps here. That extra mess is part of the trade-off, but it also means the prints can be rich and vivid. Kids usually notice the color right away.
Use these slices sparingly, almost like sprinkles on a cake. A few bright marks can wake up an entire page.
Fun themes that turn simple stamps into finished art
Once kids know how each vegetable stamp behaves, the next step is giving those prints a clear job. A theme turns a page full of random marks into a picture with purpose, so the art feels complete instead of scattered. That little shift makes the activity more satisfying, especially for kids who like to see a scene come together.
The easiest themes are the ones children already understand. Flowers, animals, rainbows, and holiday crafts all give them a simple starting point, and the vegetables do the rest.
Garden pictures with flowers, stems, and leaves
A garden scene is one of the best ways to use vegetable stamps because the shapes already feel botanical. Okra makes neat flower petals, celery leaves fill in the greenery, cabbage adds bold texture, and carrot circles can become tiny blooms or flower centers.
Start with the background, then build the picture in layers. Kids can stamp green celery or lettuce first for grass and leaves, then add flowers on top. After the paint dries, a marker or crayon can finish the stems and give the garden a little shape.
A few easy garden ideas include:
- Flower beds with rows of okra blossoms and carrot-dot centers
- Leafy borders made with celery and cabbage prints
- Tall stem scenes where painted lines connect each flower head
This works because the page starts to look planned, even when the stamping stays playful.
Animals, bugs, and silly faces
Animal art gets a lot more fun when kids use vegetables as body parts instead of trying to stamp a perfect animal shape. Broccoli can look like a furry body or treetop, onion rings make bright eyes, and pepper halves can turn into butterfly wings or round bug shells.
Silly faces are just as easy. A potato print can become a head, then kids add eyes, a nose, and a smile with markers. If they want a bug, a few carrot dots and celery legs can finish the look fast.
Keep the shapes simple and let kids fill in the rest. The goal is a playful picture, not a perfect drawing.
Cards, gifts, and seasonal crafts
Stamped art also works well for handmade cards and small gifts. A folded sheet of paper with flower prints becomes a birthday card. A row of stamped shapes can decorate gift wrap, and a single colorful print can be cut into a paper ornament for the fridge or classroom wall.
Seasonal themes make this even easier. Hearts work for Valentine’s Day, pumpkins fit fall, and stars or circles can become holiday cards with just a few added details. For school projects, kids can make a whole class set with the same stamp and still end up with unique results.
Tips that keep the prints bright and the mess under control
Bright prints start with simple habits. A light touch, dry veggie surfaces, and a clean workspace make the colors pop without turning the table into a swamp of paint. The goal is smooth stamping, crisp edges, and cleanup that doesn’t feel like a second craft project.
How to get cleaner stamps every time
Use a small amount of paint on the tray, then tap the vegetable just enough to coat the cut side. If the surface looks thick or gloopy, the print can blur at the edges and lose its shape. A thin layer gives you a brighter mark and keeps details clear.
Press straight down with steady pressure, then lift carefully. Twisting the stamp can smear the image, almost like dragging a wet fingerprint across the page. Dry the cut side of each vegetable with a paper towel first, because moisture can thin the paint and make the stamp slide.
A quick test stamp helps too. Try one print on scrap paper before you begin the main project, then adjust the paint or pressure if needed. That small pause saves frustration later and helps kids see how the stamp will look.
Easy ways to avoid sticky, muddy art
Too much paint is the fastest way to get brown, dull prints. When colors mix on the stamp or on the paper, they lose their brightness and turn muddy fast. To keep each shade fresh, use separate trays or plates for different colors, or rinse and wipe the stamp before switching.
A simple color routine works well:
- Stamp one color.
- Wipe the vegetable clean.
- Dry it if needed.
- Move to the next color.
That extra reset keeps pink from turning gray and yellow from disappearing into green-brown mess. For more simple paint tips, Chicago Botanic Garden’s veggie print guide offers a helpful classroom-style reminder to keep the cut surface flat and the cleanup quick.
Dry paper matters too. When the page is wet, new prints can bleed into each other and lose their sharp edges. Fresh paper keeps the colors bold and the final artwork much easier to admire.
Conclusion
Vegetable painting for kids turns simple kitchen scraps into bright, playful art. The real value is in the discovery, the laughter, and the way children get to test colors, shapes, and textures with their own hands.
Even the smallest prints can look beautiful when kids are free to experiment. A crooked stamp, a messy edge, or a surprise color blend often makes the page feel more alive, not less.
So pick one vegetable, one color, and one sheet of paper, then start stamping. The best part is seeing what your child creates next.
Save pin for later

- 20 Baby Shower Table Decor Ideas - July 22, 2026
- How To Raise A Confident Child - June 19, 2026
- Age-Appropriate Chores For Kids (By Age Group) - June 19, 2026