 Vivien Robert
Newborn hygiene isn’t about keeping your baby spotless, it’s about keeping their skin calm, clean, and protected from the germs and irritation that can show up fast. A newborn’s skin is thin and sensitive, so the safest routine is simple, gentle, and consistent. In the first few weeks, moisture, dirty hands, and harsh products can cause more trouble than most parents expect.
You don’t need a complicated setup or a long list of products to get it right. Clean hands, careful diaper changes, mild baths, and a few smart habits can go a long way toward preventing rashes and discomfort. The goal is steady care, not perfection, and a calm routine is often the best protection. If you want a quick visual, this diaper rash prevention video is a helpful watch, and these gentle newborn skin care products can make your routine easier. Next, we’ll walk through five practical ways to protect your baby from germs, rashes, and everyday irritation.
Start with clean hands before you touch your baby
Handwashing is the simplest way to protect a newborn from germs. Babies get exposed through touch, so clean hands matter every time someone picks them up, feeds them, changes them, or soothes them. That includes parents, siblings, grandparents, and visitors.
A quick rinse is not enough. Use soap and water first, then keep sanitizer nearby for moments when a sink is out of reach. The habit is small, but it has a big effect on your baby’s skin and overall hygiene.
When caregivers should wash up
Wash your hands before holding your baby, before feeding, and before cord care. Those are the moments when clean hands matter most, because they keep germs away from your baby’s mouth, skin, and healing belly button.
Handwashing also matters after messy jobs and shared surfaces. That means after diaper changes, after using the bathroom, after coughing or sneezing, and after touching phones, door handles, grocery carts, pet items, or other surfaces lots of people use. If you are sick, your hands need extra attention before you touch the baby at all.
Anyone who handles the baby should wash first, even if it feels like a quick visit. If an older child wants to help soothe the baby, send them to the sink first. The same goes for guests who want to hold the baby for a few minutes. For a quick refresher on diaper-time hygiene, see this handwashing before diaper changes guide.
Clean hands before touch is one of the easiest ways to lower newborn germ exposure.
A helpful rule is simple: if you are about to touch the baby, wash first.
Why soap and water still matter most
Soap and water remove dirt, oils, and germs better than a quick rinse. They also clean under nails, between fingers, and around thumbs, which are the spots people often miss.
Use alcohol-based sanitizer when soap and water are not nearby, such as in the car or at a public place. It helps in a pinch, but it works best on hands that are not visibly dirty. If your hands have poop, spit-up, grease, or other grime on them, wash with soap and water instead.
The American Academy of Pediatrics newborn skin care guidance also reminds caregivers to start with handwashing before baby care. That simple step fits neatly into every feeding, diaper change, and cuddle session, so it becomes part of the routine fast.
Keep the umbilical cord area dry and untouched
The safest cord care is simple: leave the stump alone, keep it dry, and let it fall off on its own. Most babies heal within 1 to 2 weeks, and the area changes a little each day as it dries out. For the basics, HealthyChildren’s umbilical cord care guidance matches what most parents need to know.
What normal healing looks like
At first, the cord stump looks pale and soft. Then it starts to dry out, shrink, and turn darker, often brown or black. That slow change is normal, and the stump usually drops off by itself without any pulling or picking.
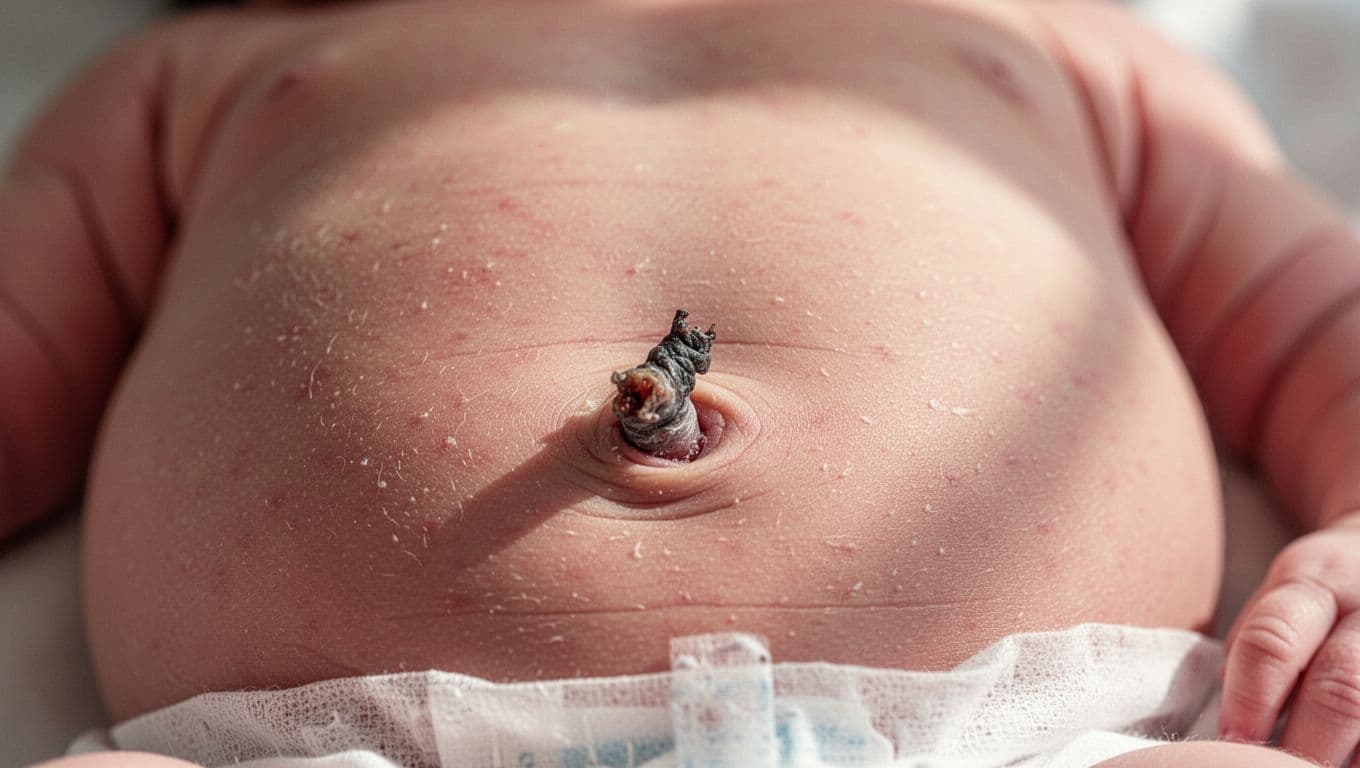
A small amount of dried blood on the diaper can also happen, especially near the end of healing. However, ongoing bleeding, a bad smell, pus, swelling, or redness that spreads needs medical attention. If the skin around the stump looks angry or warm, call your baby’s doctor.
A dry stump that gets darker and falls off on its own is the goal.
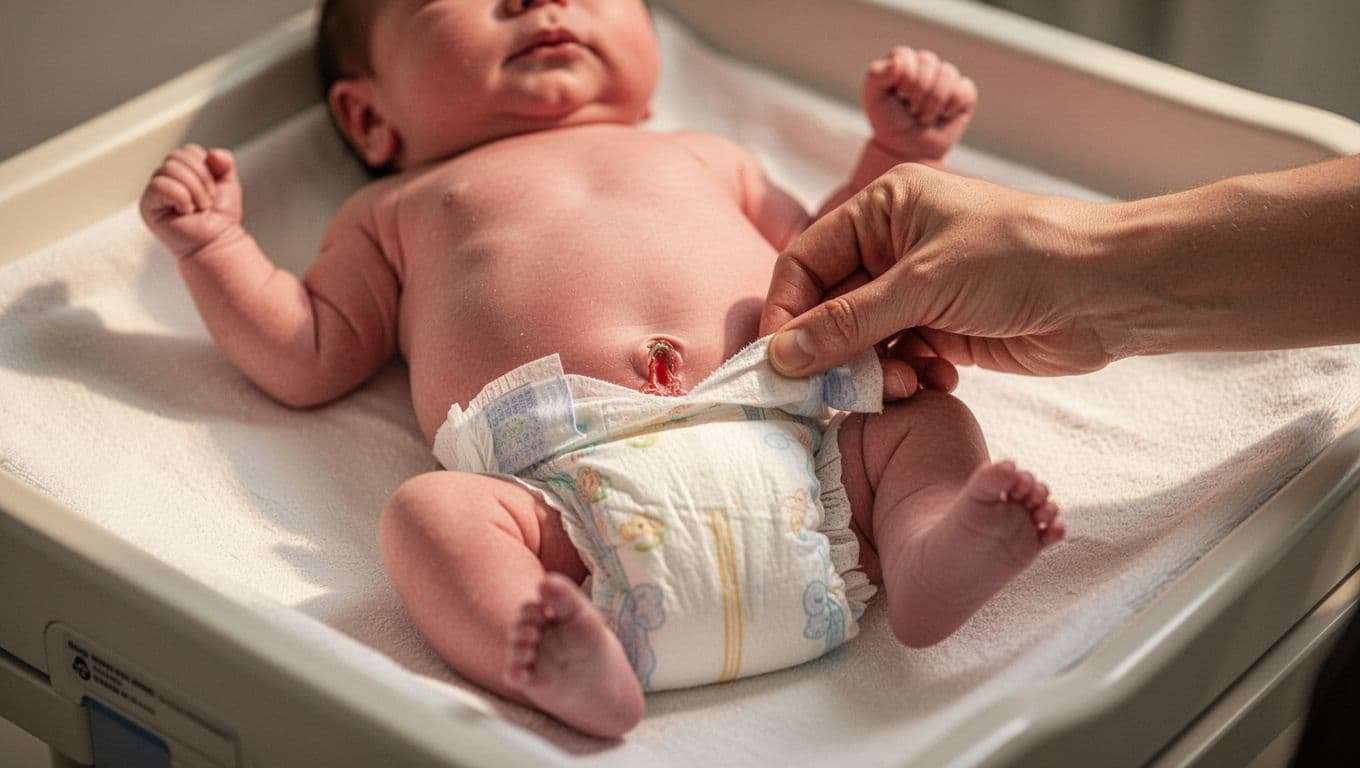
How to protect the cord during diaper changes and baths
During diaper changes, fold the top of the diaper down below the cord so air can reach it. That also helps keep urine away from the stump, which cuts down on moisture and irritation.
Keep the area exposed to air when you can, and don’t cover it tightly with extra clothing or bandages. Also, skip powders, creams, oils, and alcohol unless your doctor says to use them. These products can slow healing or irritate newborn skin.
Until the stump falls off, use sponge baths or careful spot cleaning instead of soaking your baby in a tub. The Mayo Clinic’s cord care advice also supports keeping the stump dry and letting it come off naturally. If it gets a little wet, pat it dry gently and move on.
Make diaper changes fast, gentle, and frequent
Frequent diaper changes are one of the easiest ways to protect newborn skin. Wetness, stool, and friction can turn into redness fast, so the goal is simple: check often, change quickly, and keep the skin dry.
A calm routine helps you move faster without getting rough. It also makes diaper time feel predictable, which is good for you and your baby.
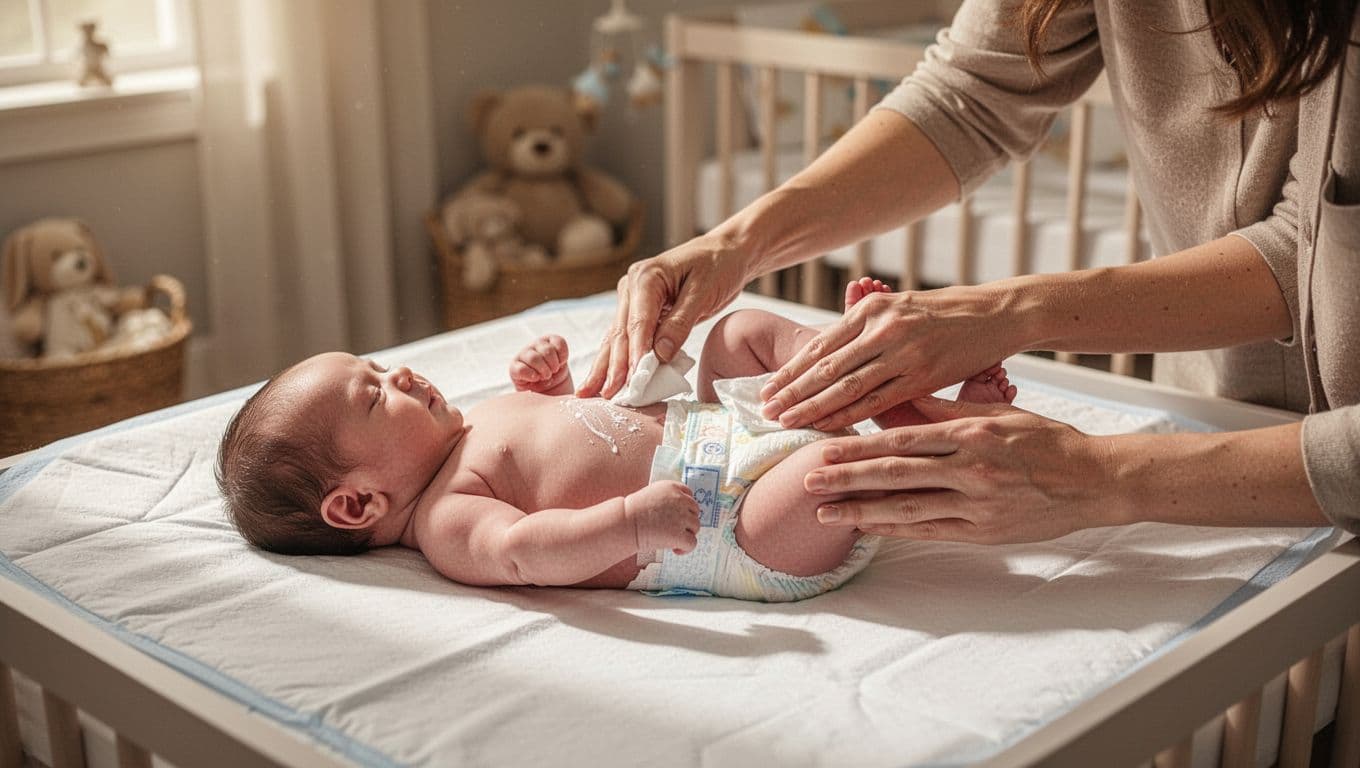
A simple diaper routine that helps prevent rash
A steady diaper routine keeps irritation down and makes skin care easier. Start by checking the diaper often, especially after feeds and naps. Newborns need quick changes after poop, and wet diapers should not sit for long.
Follow the same steps each time:
- Check the diaper and get your supplies ready first.
- Change it as soon as it is wet or soiled.
- Clean gently with a soft wipe or cloth, moving front to back.
- Dry the skin by patting it, not rubbing it.
- Protect irritated skin with a thin barrier cream or ointment when needed.
- Dress your baby in a fresh diaper and loose, comfy clothes.
Dry skin is happier skin. Less moisture means less friction and fewer rashes.
For newborns, that kind of gentle care matters. The HealthyChildren diaper rash guide also points parents toward thick barrier paste when skin needs extra protection.
How to keep the changing area sanitary
A clean changing spot helps stop germs from spreading. Wash your hands before and after each diaper change, and keep clean wipes or cloths within reach so you do not need to fumble around mid-change.
It also helps to clean the surface often. Wipe down the pad, basket, or table regularly, especially after messy diapers or spills. If you use a changing mat, wash it on a routine schedule so buildup does not linger.
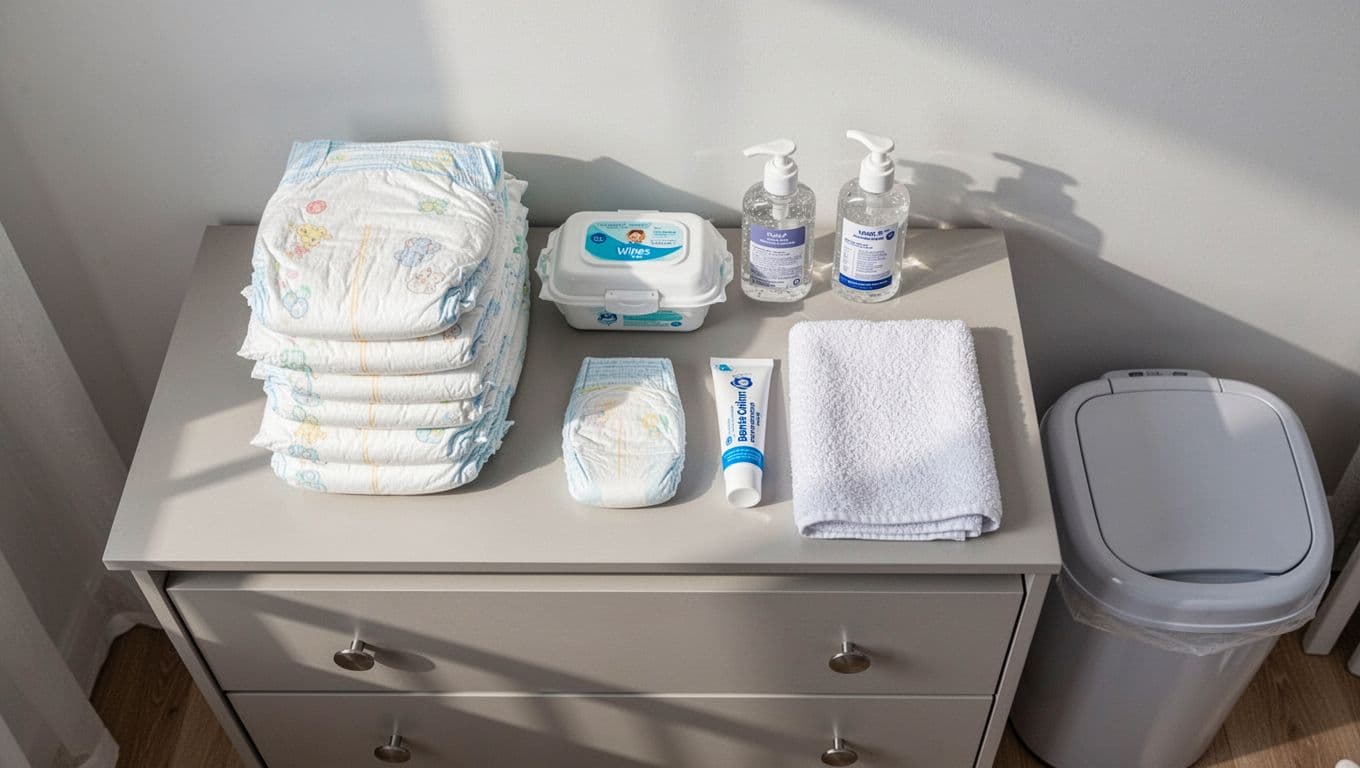
Disposable diaper users can keep a spare stack nearby and toss used diapers right away. Cloth diaper users should rinse soiled diapers as directed and wash them well so residue does not stay on the fabric. Either way, a tidy setup lowers the chance of spreading germs and keeps the whole routine smoother.
For more detailed diaper care tips, the Mayo Clinic diaper rash guidance also recommends keeping the area clean, dry, and protected.
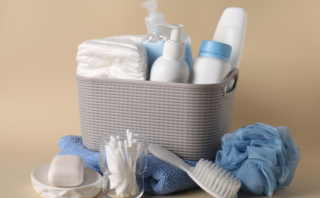
Choose bath and skin care that protects newborn skin
Newborn skin needs a light touch. Too much washing can strip away natural moisture, so the best routine is simple, short, and gentle. Most babies stay clean with a few baths a week, plus spot cleaning for the areas that get dirty most.
The first bath can wait at least 24 hours after birth when possible. That gives your baby time to stay warm, settle in, and keep some of the natural moisture on the skin. The American Academy of Pediatrics newborn skin care guidance and Mayo Clinic baby bath basics both support a low-key approach.
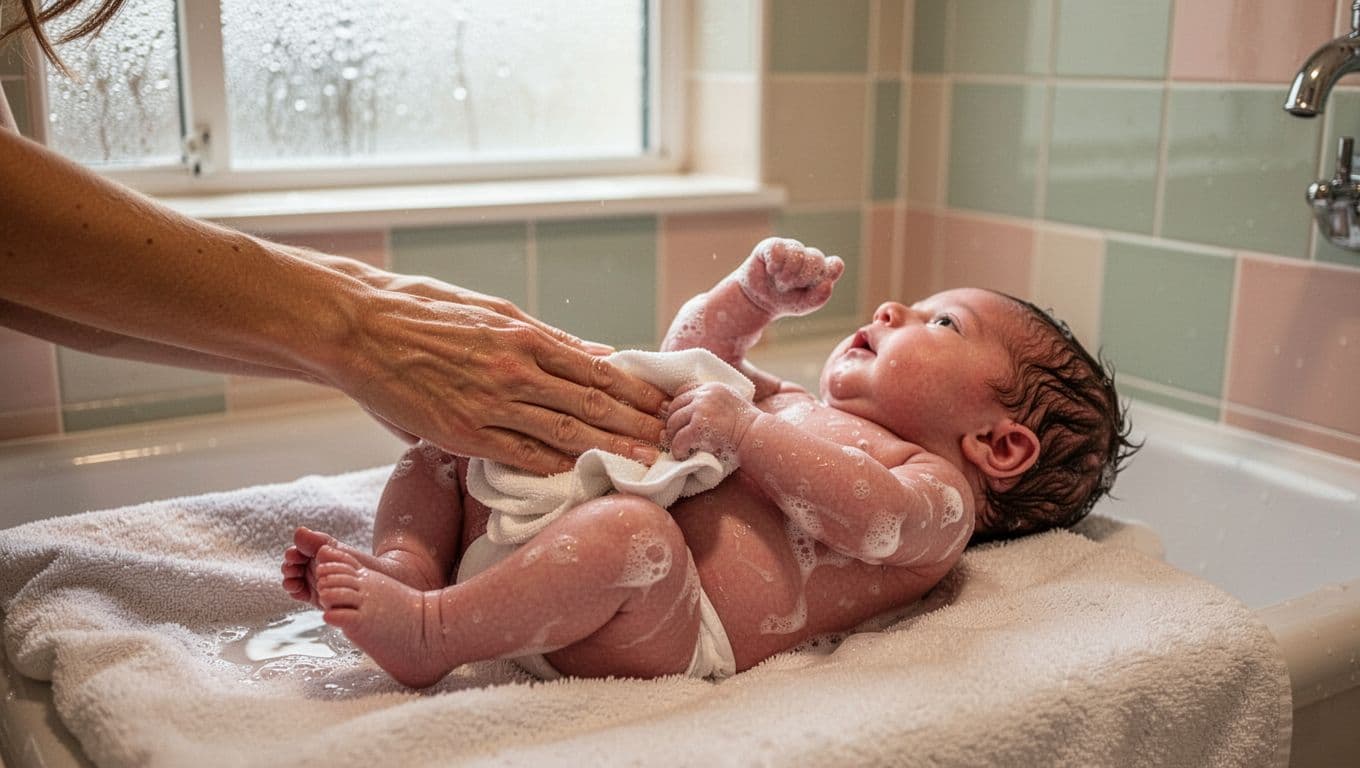
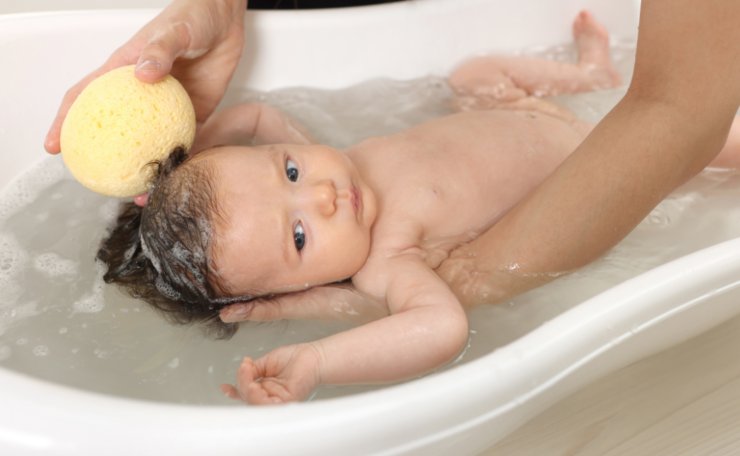
How often newborns really need a bath
Newborns do not need daily baths. In many cases, 2 to 3 baths a week is enough, especially before your baby gets more mobile. Between baths, a warm washcloth can handle the face, neck folds, hands, and diaper area.
That approach keeps skin from drying out. It also makes care easier, because you can clean what matters without scrubbing the whole body. If your baby is not visibly dirty, a full bath often adds more dryness than benefit.
Short sponge baths work well until the umbilical cord stump falls off. After that, you can move to a shallow tub bath with warm water and a quick finish. Keep it brief, gentle, and calm.
Less washing often means better skin comfort for newborns.
Which products to skip and which ones are safer
Strong fragrances, harsh soaps, and adult skincare products can irritate newborn skin fast. Adult body wash, scrubs, acne products, and scented lotions are too strong for a baby’s skin barrier.
Choose mild, baby-safe products instead. Unscented wash, plain water, and a small amount of fragrance-free moisturizer are usually enough. If you try a new product, use a tiny amount first and watch for redness, bumps, or dryness.
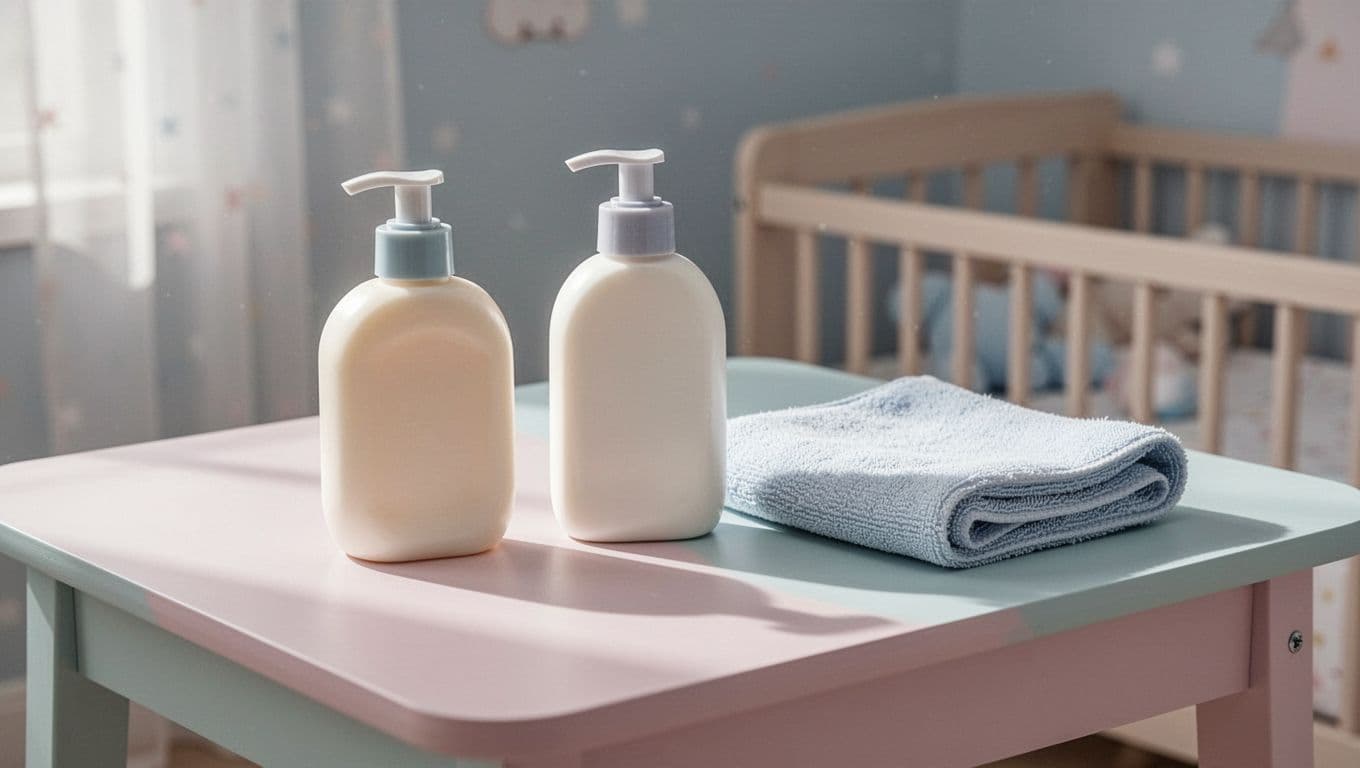
A simple product check helps:
- Skip anything with a strong smell.
- Skip adult soaps and body lotions.
- Choose gentle, fragrance-free baby wash if soap is needed.
- Use lotion only when skin looks dry, then apply a thin layer.
Dry skin after a bath is common, so a little lotion can help. Keep it plain and unscented, and use less rather than more. When you treat newborn skin like delicate fabric, it stays calmer and easier to care for.
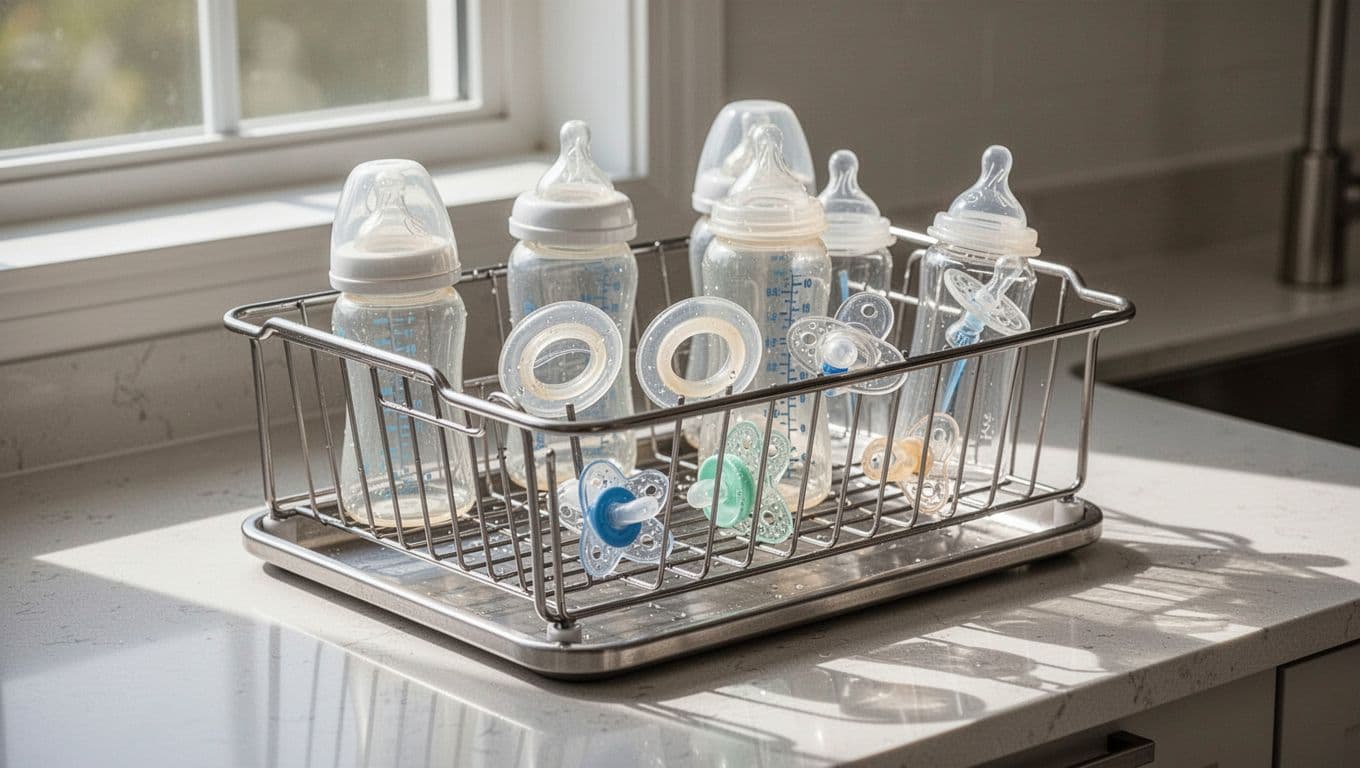
Clean feeding items well to lower infection risk
Bottle-feeding gear needs the same kind of care you give the baby itself. Milk residue can hide in tiny parts, and leftover moisture gives germs a place to grow. That matters even more for babies under 2 months, premature babies, and babies with weaker immune systems, who need extra protection.
Before you handle formula, bottles, pacifiers, or pump parts, wash your hands with soap and water. Then clean each item right after use, so milk does not dry inside nipples, valves, or caps. The CDC infant feeding item guidance is clear on this point, and it fits well into a simple daily routine.
The safest way to wash and sanitize bottles
Washing and sanitizing are not the same thing. Washing removes milk, dirt, and residue with hot soapy water and a clean brush. Sanitizing lowers germs even more, which is helpful for younger or higher-risk babies.
A simple routine works best:
- Take bottles apart completely.
- Rinse parts under running water.
- Wash them in hot soapy water with a bottle brush.
- Rinse again with clean water.
- Sanitize by boiling, steaming, or using a dishwasher sanitize cycle if the items allow it.
- Let everything air-dry fully before storage.
If a bottle or pacifier only gets rinsed, germs can stick around. Clean it fully every time.
For many families, the dishwasher makes this easier. Use the hot water and heated dry or sanitize setting if the parts are dishwasher-safe. For nipples, pacifiers, and pump pieces, follow the manufacturer’s instructions so the material does not warp or crack. The HealthyChildren bottle sterilizing guidance also gives a helpful overview of safe sanitizing methods.
How to store feeding gear after cleaning
Clean items need a clean place to dry. Air-drying on a fresh dish towel, paper towel, or clean rack keeps water from getting trapped in hidden corners. It also helps prevent the kind of dampness that germs like.
Keep bottles, nipples, pump parts, and pacifiers away from dirty counters, sinks, and dusty cabinets until they are fully dry. If you need to store them before the next feeding, use a clean container with a lid or a closed cabinet that stays dry and tidy.
Breast pump parts need the same care, since milk can cling to valves and flanges. A good step-by-step guide is cleaning breast pump parts properly, which can help if pumping is part of your routine.
The goal is simple: clean, dry, and protected. When feeding gear stays sanitary, you lower the chance of passing germs to your newborn with every bottle, pacifier, or pump session.
Conclusion
The safest newborn hygiene routine is usually the simplest one. Clean hands, a dry umbilical cord, frequent diaper changes, gentle bath care, and well-washed feeding items all work together to keep your baby more comfortable and better protected.
When you stay steady with those habits, small problems are less likely to turn into bigger ones. That matters because irritation can show up fast on newborn skin, and common newborn rashes like diaper rash can add stress to an already busy season.
A calm routine does not have to be perfect to be effective. It only needs to be consistent, gentle, and easy to repeat every day.
Save pin for later

- How To Raise A Confident Child - June 19, 2026
- Age-Appropriate Chores For Kids (By Age Group) - June 19, 2026
- How To Prepare Your Child For Their First Day Of School - June 19, 2026