

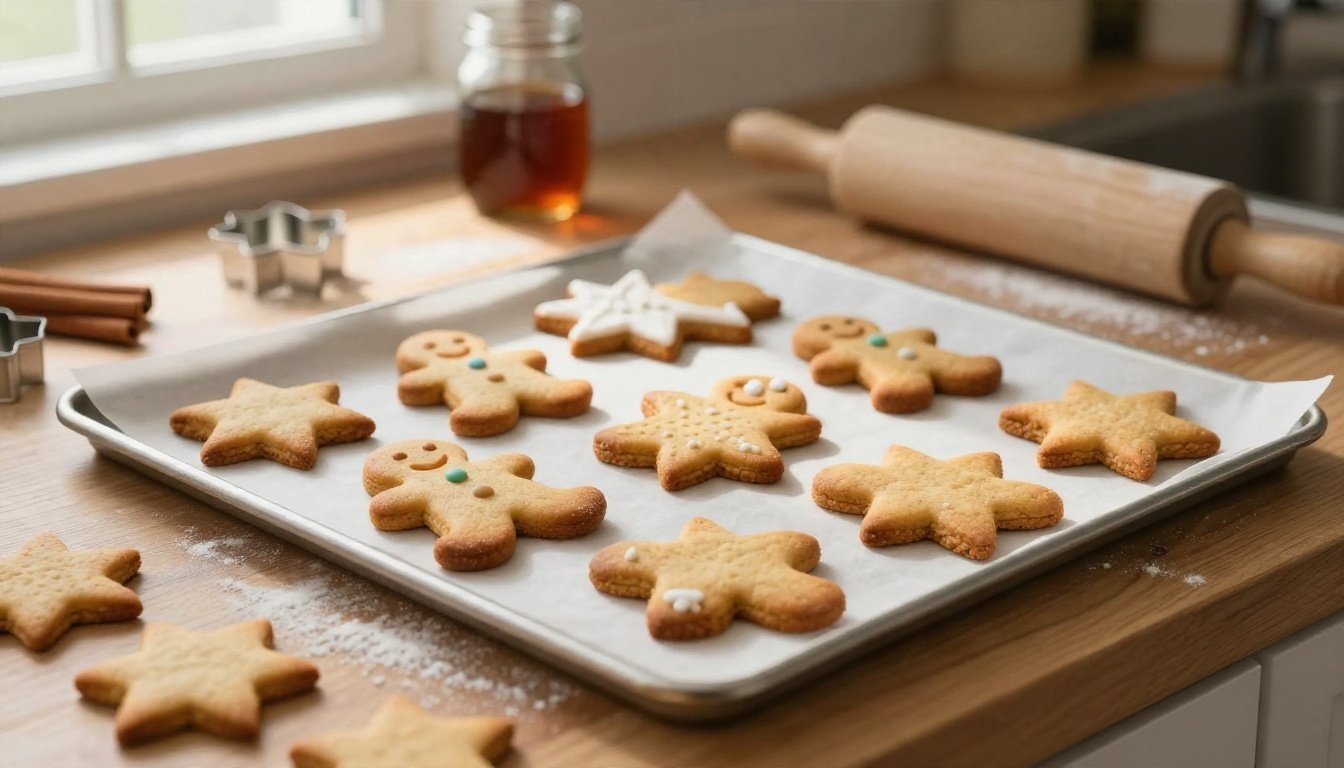
The smell of ginger, cinnamon, and molasses drifts through a busy kitchen as a tray of gingerbread cookies bakes. This cutout recipe gives you clear steps for rolling, baking, decorating, and storing cookies with crisp edges and tender centers.
Chilling the dough helps the shapes hold in the oven, so little stars and gingerbread people come out neat and ready to decorate. If you’re planning a family baking day, these homemade cookie ideas offer more inspiration; first, let’s get this easy dough ready.
Gingerbread Cookies: The Easy Cutout Recipe to Make First
These gingerbread cookies bake up sturdy enough to decorate, with crisp edges and tender centers. The dough is straightforward to mix, and a good chill makes the shapes easier to roll and cut cleanly.
What to Gather for a Bold Ginger and Molasses Flavor
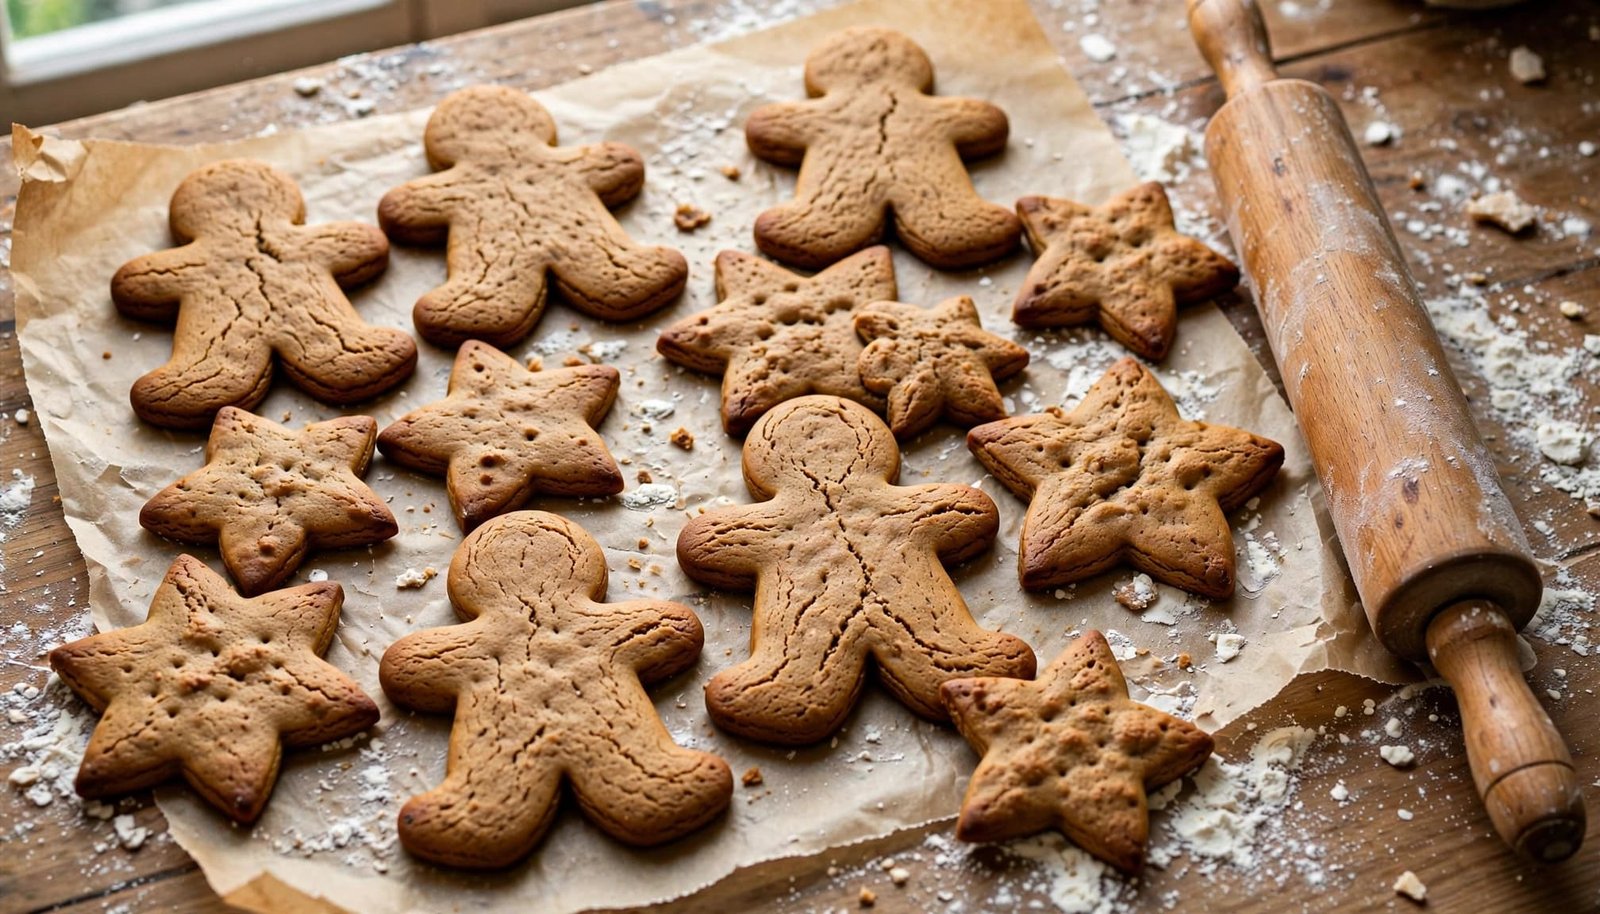
This recipe makes about 24 to 30 cookies, depending on the size of your cutters. Plan for about 25 minutes of prep, at least 1 hour of chilling, and 8 to 12 minutes of baking per tray.
Dry ingredients
- 3 cups all-purpose flour
- 1 teaspoon baking soda
- 1 teaspoon ground ginger
- 1 teaspoon ground cinnamon
- 1/4 teaspoon ground cloves
- 1/2 teaspoon salt
Wet ingredients
- 3/4 cup unsalted butter, softened
- 3/4 cup packed brown sugar
- 2/3 cup plain, unsulfured baking molasses
- 1 large egg
- 1 teaspoon vanilla extract
Ginger brings warmth, cinnamon adds sweetness, and cloves give the dough depth. These amounts create a balanced, gently spiced cookie; other gingerbread recipes use different spice blends and proportions.
Choose plain, unsulfured baking molasses, not blackstrap. Blackstrap has a stronger, more bitter flavor that can overpower the spices. For more on choosing molasses and handling cutout dough, see Serious Eats’ gingerbread cookie guide.
Mix, Chill, Roll, and Bake the Dough
- Whisk the dry ingredients. In a medium bowl, whisk together the flour, baking soda, ginger, cinnamon, cloves, and salt until the spices are evenly distributed.
- Cream the butter and sugar. In a large bowl, beat the softened butter and brown sugar until creamy and combined, about 2 minutes. Mix in the molasses, egg, and vanilla until smooth.
- Add the flour mixture. Stir the dry ingredients into the wet mixture in two additions. Stop as soon as no dry streaks remain; overmixing can make the cookies tougher. Divide the dough in half, shape each portion into a disc, wrap, and refrigerate until firm, at least 1 hour.
- Heat the oven and roll. Set the oven to 350°F and line baking sheets with parchment paper. If the dough has chilled for several hours or overnight, let it sit at room temperature for a few minutes so it softens enough to roll. Roll one disc on a lightly floured surface to an even thickness of about 1/4 inch.
- Cut and arrange the cookies. Cut out shapes and transfer them to the prepared sheets, leaving about 1 inch between cookies. Gather the scraps and reroll them with as little extra flour as possible. Repeat with the second disc.
- Bake and cool. Bake for 8 to 12 minutes, adjusting for the cookies’ size and thickness. Smaller or thinner shapes may finish sooner; larger, thicker ones need longer. The edges should look set, and the centers should no longer appear wet. Let the cookies rest on the baking sheet for 5 minutes, then move them carefully to a wire rack. They firm up as they cool, so give them time to set before decorating.
For a family baking session, children can help choose cutters and decorate once the cookies have cooled. Find more kid-friendly kitchen activities for simple ways to get little helpers involved.
How to Keep Gingerbread Cookies from Spreading
Gingerbread cookies hold their shape best when the dough is firm, the cutouts stay cold, and each cookie has room on the pan. If the edges blur, a small change to chilling, rolling, or baking can make the next batch sharper.
Fix Sticky Dough, Cracked Edges, and Blurred Shapes
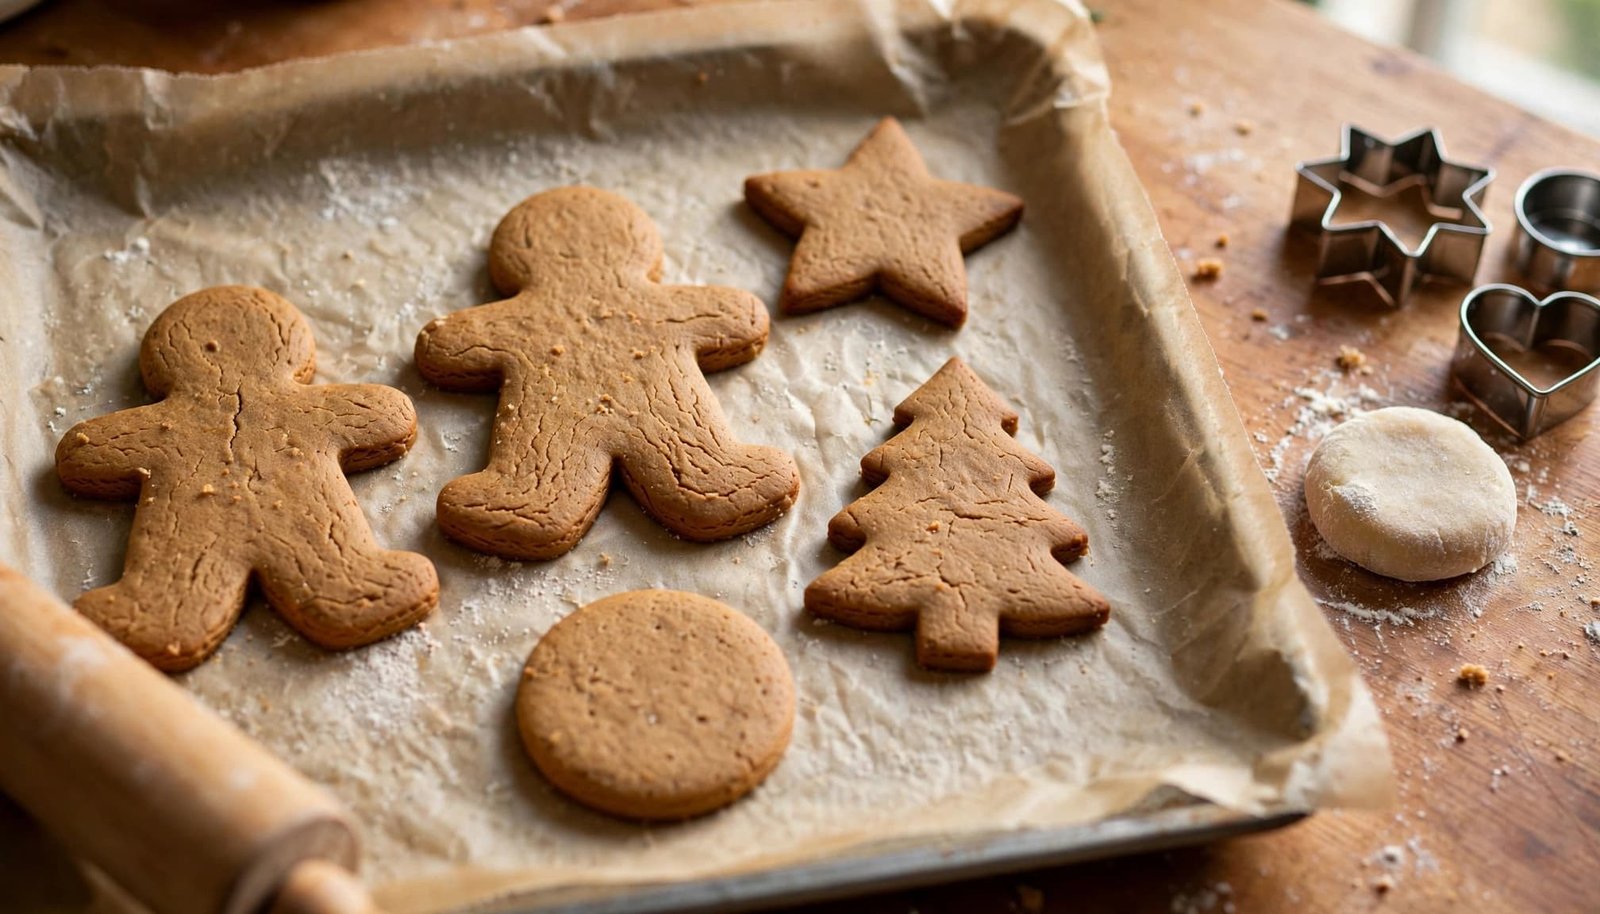
If the dough feels sticky, chill it before adding flour. Warm butter and molasses can make gingerbread dough cling to the counter, but extra flour can toughen the cookies. Wrap the dough and refrigerate it until firm, then roll it on a lightly floured surface. Dust sparingly, and brush excess flour from the dough before cutting.
Work with one dough disc at a time and leave the other in the refrigerator. Roll with steady pressure so the dough stays an even thickness. Uneven dough bakes unevenly: thin areas can turn crisp before thicker parts finish, and inconsistent thickness can make the shapes look lopsided. For more general tips on rolling clean cutouts, see this guide to rolled sugar cookie cutouts.
If the edges crack while rolling, let the dough warm slightly. Dough straight from a long chill may be too firm to bend smoothly. Give it a few minutes at room temperature, then press the cracks together gently with your fingertips. Avoid kneading in a lot of flour, which can make the cookies dry and firm.
If the dough softens as you work, pause and chill it again. A warm kitchen or repeated handling can make the butter soften before the cookies reach the oven. Once you cut the shapes, transfer them to a parchment-lined sheet and chill them briefly if they feel soft. Cold cutouts spread less and are easier to move without stretching the arms, legs, or points of smaller shapes. Leave space between cookies, too, so they don’t bake into one another.
The oven temperature, dough thickness, and cutter size all affect the finished shape and bake time. Keep the oven at the recipe’s stated temperature, since an oven that runs too cool can give the dough more time to spread. Smaller or thinner cookies bake faster, while larger or thicker ones need longer. For a crisper result, roll the dough thinner or bake it a little longer, watching the edges closely. A slightly shorter bake keeps the centers softer.
If cookies spread despite firm, chilled dough, check that the oven has fully preheated and that the baking sheet isn’t warm from a previous batch. Let the pan cool before arranging more cutouts. Those small adjustments help preserve crisp edges without adding extra flour or changing the dough.
Decorate Gingerbread Cookies with Simple Royal Icing
Cool the gingerbread cookies completely before decorating. Even a slightly warm cookie can soften the icing and blur piped details, so let the cookies rest on a wire rack until they reach room temperature.

Royal icing is a handy choice for gingerbread because it dries firm and holds piped shapes. For a family-friendly finish, stick with a few simple details instead of trying to decorate every inch. A clean outline and one or two accents can make each cookie feel festive; see more royal icing cookie design ideas for inspiration.
For food safety, make royal icing with meringue powder or pasteurized egg products rather than raw egg whites. The USDA’s guidance on egg products explains that egg products sold for consumption are pasteurized.
Pipe Neat Details and Let the Icing Set
Set up a small decorating station with cooled cookies, piping bags, and any sprinkles or colored icing you plan to use. Keep the bowl covered with plastic wrap or a damp cloth between uses, since royal icing dries quickly when exposed to air.
For a simple decorating plan, start by outlining each cookie. Use thicker icing for outlines, buttons, dots, and simple lines; it should hold its shape instead of spreading. If you’d like a filled area, thin a portion of the icing with a little water until it flows smoothly inside the outline. Add the fill while the border is still wet, then use the tip of a toothpick to nudge icing into small gaps.
Decorate only a few cookies at a time, especially when children are helping. That gives everyone time to add dots or lines before the icing begins to crust, while the remaining cookies stay covered and ready. Simple gingerbread people might get buttons and a smile, while stars look lovely with a few dots or a single line near each point.
Leave the decorated cookies in a single layer on a flat surface until the icing feels completely dry and firm. This often takes 12 to 24 hours, depending on icing thickness, humidity, and airflow. Once the surface has set all the way through, you can pack or stack the cookies with less risk of smudging or sticking.
Make Ahead, Store, and Freeze Your Cookies
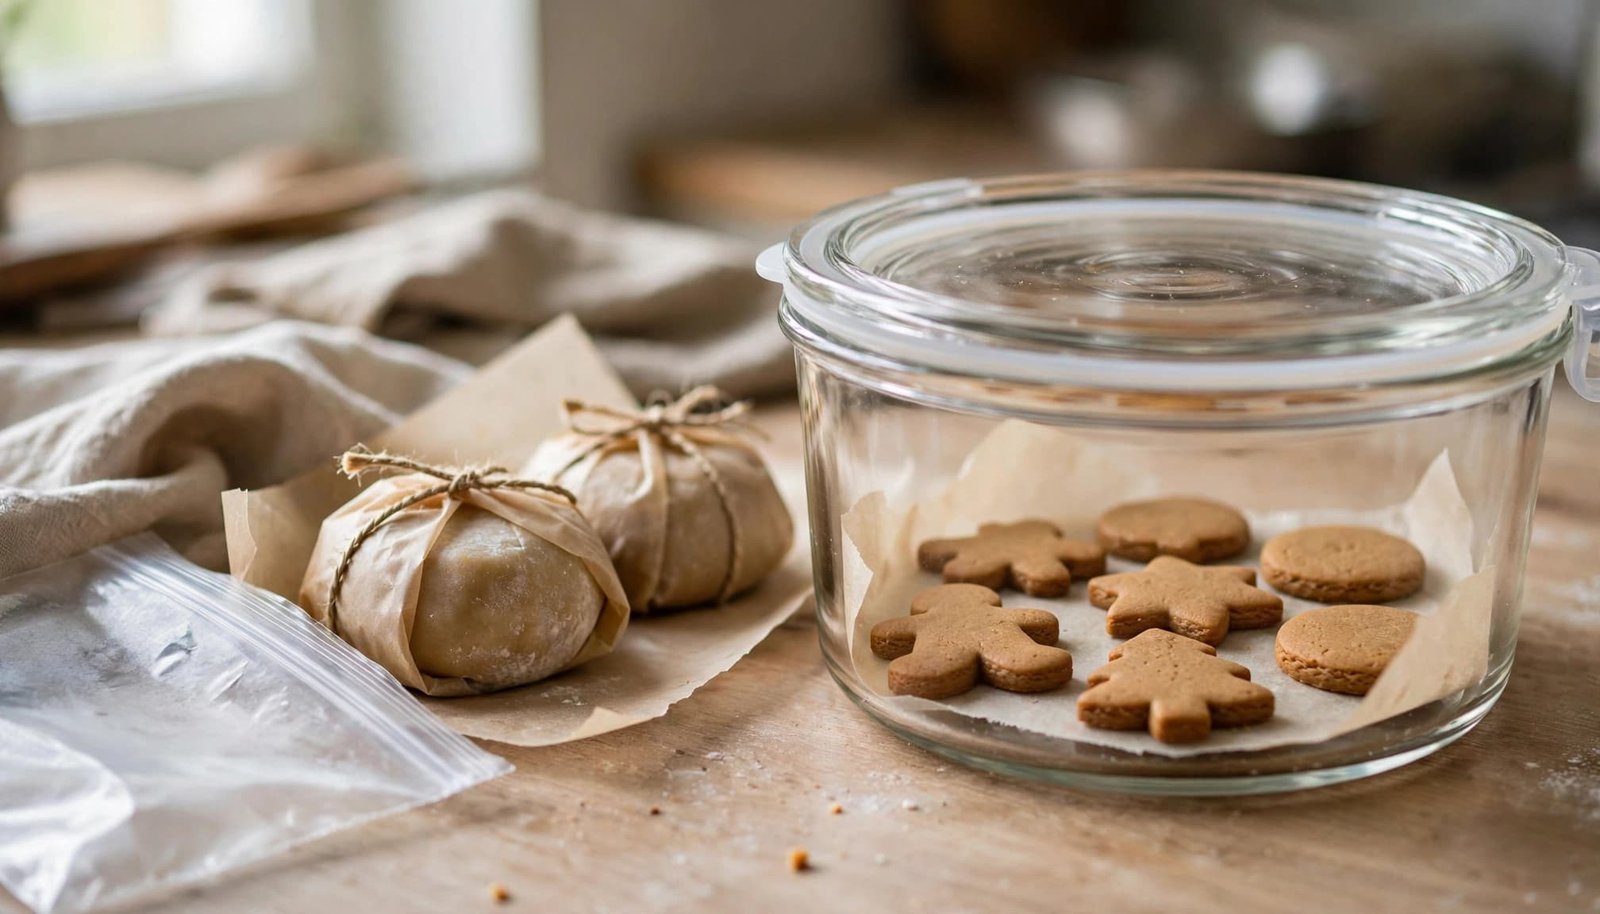
Gingerbread dough and baked cookies both work well as make-ahead options, so you can choose what fits your baking schedule. Keep everything sealed and protect each layer with parchment to preserve the cookies’ shape and decorations.
Choose the Best Make-Ahead Option for Your Schedule
For baking within a few days, wrap the dough discs tightly and refrigerate them for up to 3 days. When you’re ready to roll, let the dough sit at room temperature until it softens enough to roll without cracking. If it gets sticky or too soft, chill it again briefly.
For a longer pause, freeze the wrapped dough discs in an airtight freezer-safe bag or container for up to 3 months. Thaw them in the refrigerator, then let them rest at room temperature until workable. This gradual thaw helps the dough soften evenly without becoming greasy or difficult to handle.
You can also bake the cookies ahead and freeze them undecorated for up to 3 months. Once fully cool, layer them in an airtight container with parchment between each layer. Keeping them undecorated makes it easier to add fresh icing after thawing, and the parchment helps prevent breakage. For another example of baking ahead and decorating closer to serving time, see these cupcake storage and freezing tips.
To thaw baked cookies, leave them in their closed container at room temperature until they’re no longer cold. Then open the container and let the cookies finish airing before icing or serving. Keeping them covered as they warm helps limit condensation on the cookies. For detailed recipe-specific timing, see Once Upon a Chef’s gingerbread cookie storage guidance.
Before storing cookies at room temperature, make sure they’re completely cool. Pack undecorated cookies in an airtight container, separating layers with parchment. Iced cookies need to dry fully before packing, or the decorations may smear or stick. Storage times vary by recipe and conditions, so follow the guidance for the batch you made rather than assuming every gingerbread cookie has the same shelf life.
Conclusion
With chilled dough and an even roll, gingerbread cookies come out with crisp edges and tidy shapes. Watch the oven closely, then let each cookie cool completely and give the icing time to dry before packing.
The dough can be made ahead, and the finished cookies can stay simple or wear a little extra decoration for a celebration. Bake a batch with your family, share the decorating, and enjoy the warm spice and sweet crunch together.
Save the pin for later


- Grinch Cookies: Soft Green Crinkle Cookies with Red Hearts - November 11, 2026
- Easy Cutout Gingerbread Cookies with Crisp Edges - November 11, 2026
- Party Appetizer Ideas for Easy, Crowd-Pleasing Entertaining - November 9, 2026