
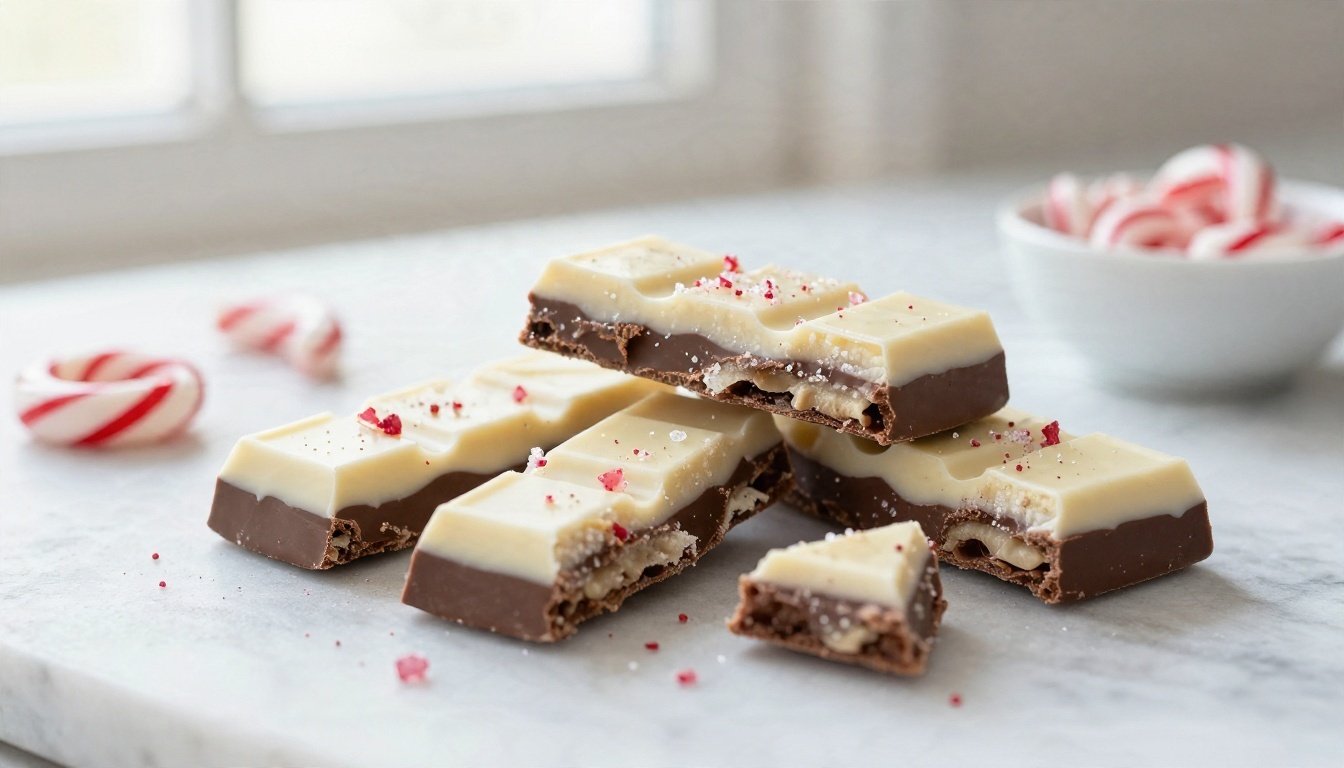
Crisp peppermint and smooth chocolate give homemade peppermint bark its festive bite, and you can make a batch with just a few ingredients. The key is melting the chocolate gently and adding each layer at the right moment so the pieces hold together when you break them.
We’ll share simple melting, layering, and storage tips, plus an easy recipe to make this seasonal treat at home. Start with the recipe below, then choose the chocolate balance your family likes best.
Make Peppermint Bark at Home with This Easy Recipe
This easy peppermint bark recipe makes about 20 to 24 pieces, with roughly 20 minutes of hands-on work plus chilling time. You’ll get crisp candy cane crunch over two smooth chocolate layers.
Gather chocolate, peppermint, and a few simple tools
You’ll need:
- 12 ounces semisweet or dark chocolate, chopped
- 12 ounces white chocolate, chopped
- 1/2 teaspoon peppermint extract, divided, if desired
- 1/2 cup crushed candy canes or hard peppermint candies
- Parchment paper
- A rimmed baking sheet
- A heat-safe bowl and a spatula
Chocolate bars or good-quality melting wafers both work well. For the white layer, choose white chocolate made with cocoa butter for a more chocolate-like finish. Check ingredient and allergen labels to suit your household’s needs. The FDA’s food allergy labeling guidance explains which major allergens packaged foods must identify.
Melt, layer, chill, and break the bark into pieces
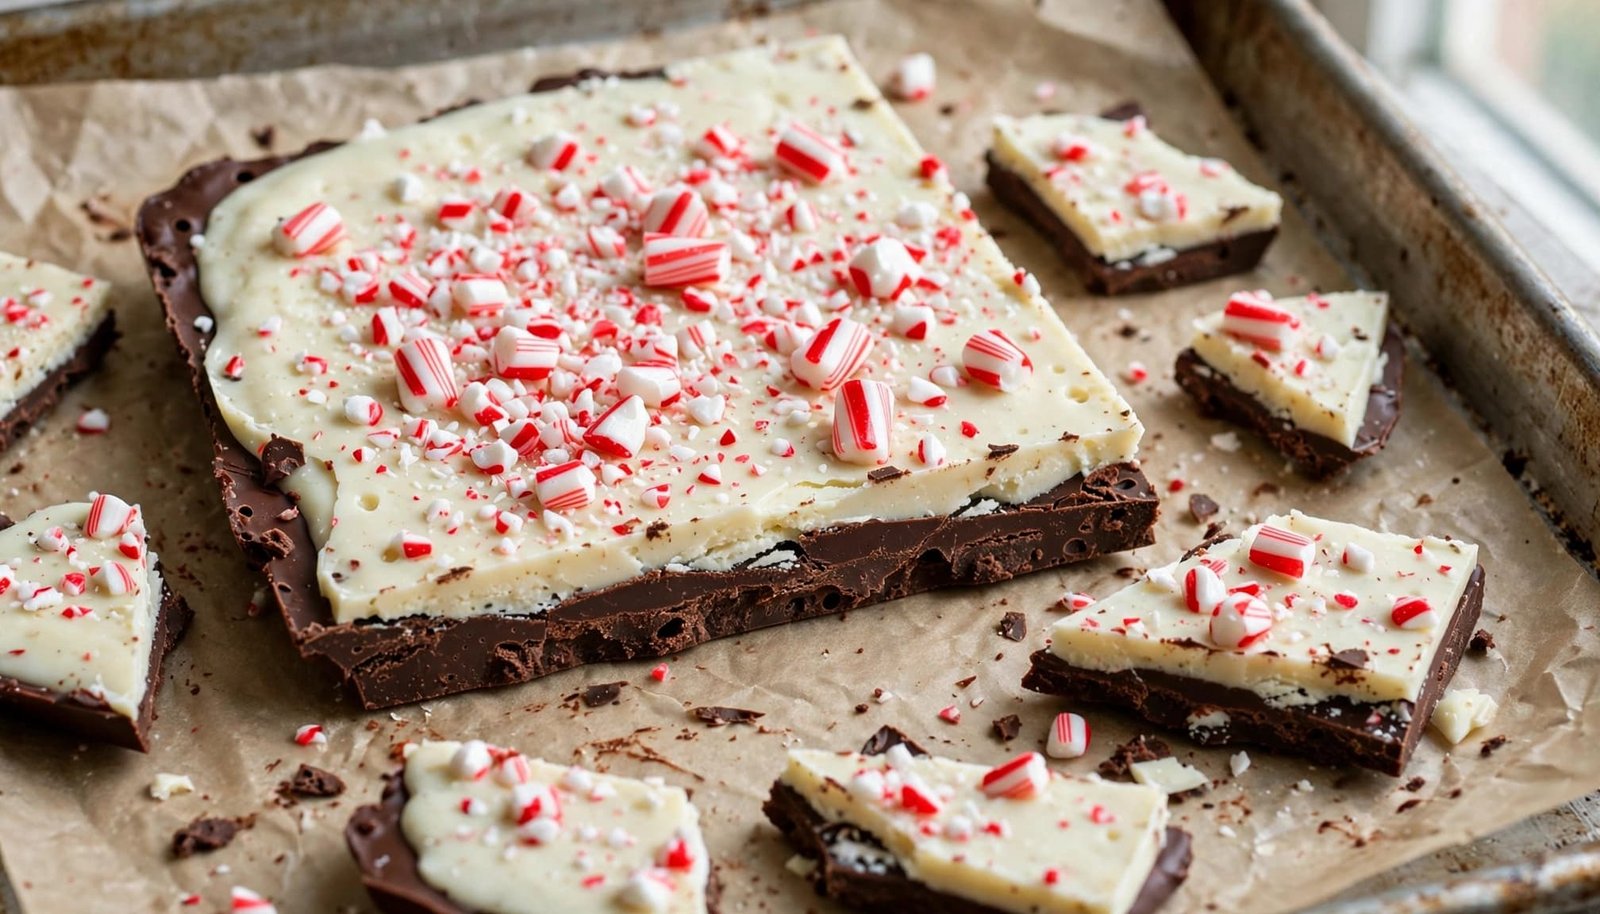
- Line the baking sheet with parchment. Melt the dark chocolate in a double boiler over gently simmering water, or microwave it at 50% power in 30-second bursts. Stir between bursts, and stop as soon as the chocolate is smooth. If you like a stronger peppermint flavor, stir in half the extract.
- Spread the dark chocolate into an even layer on the parchment. Chill it for about 10 to 15 minutes, checking for a surface that has set but still feels slightly tacky or dentable.
- Melt the white chocolate gently, using the same method. Stir in the remaining extract if desired, then spread the white chocolate over the dark layer.
- Sprinkle the crushed candy over the top and press lightly so the pieces stick. Chill until the bark is firm, then lift it from the pan and break it into uneven pieces.
The lower layer should still be slightly soft when you add the white chocolate. If it hardens completely first, the layers may separate as you break the bark.
Choose chocolate that melts smoothly and tastes balanced
The chocolate sets the bark’s flavor and texture, so choose a combination your family will enjoy eating. For clean layers and an easy melt, use chopped chocolate bars or melting wafers, and heat them gently.
Pick semisweet, dark, or milk chocolate for the base
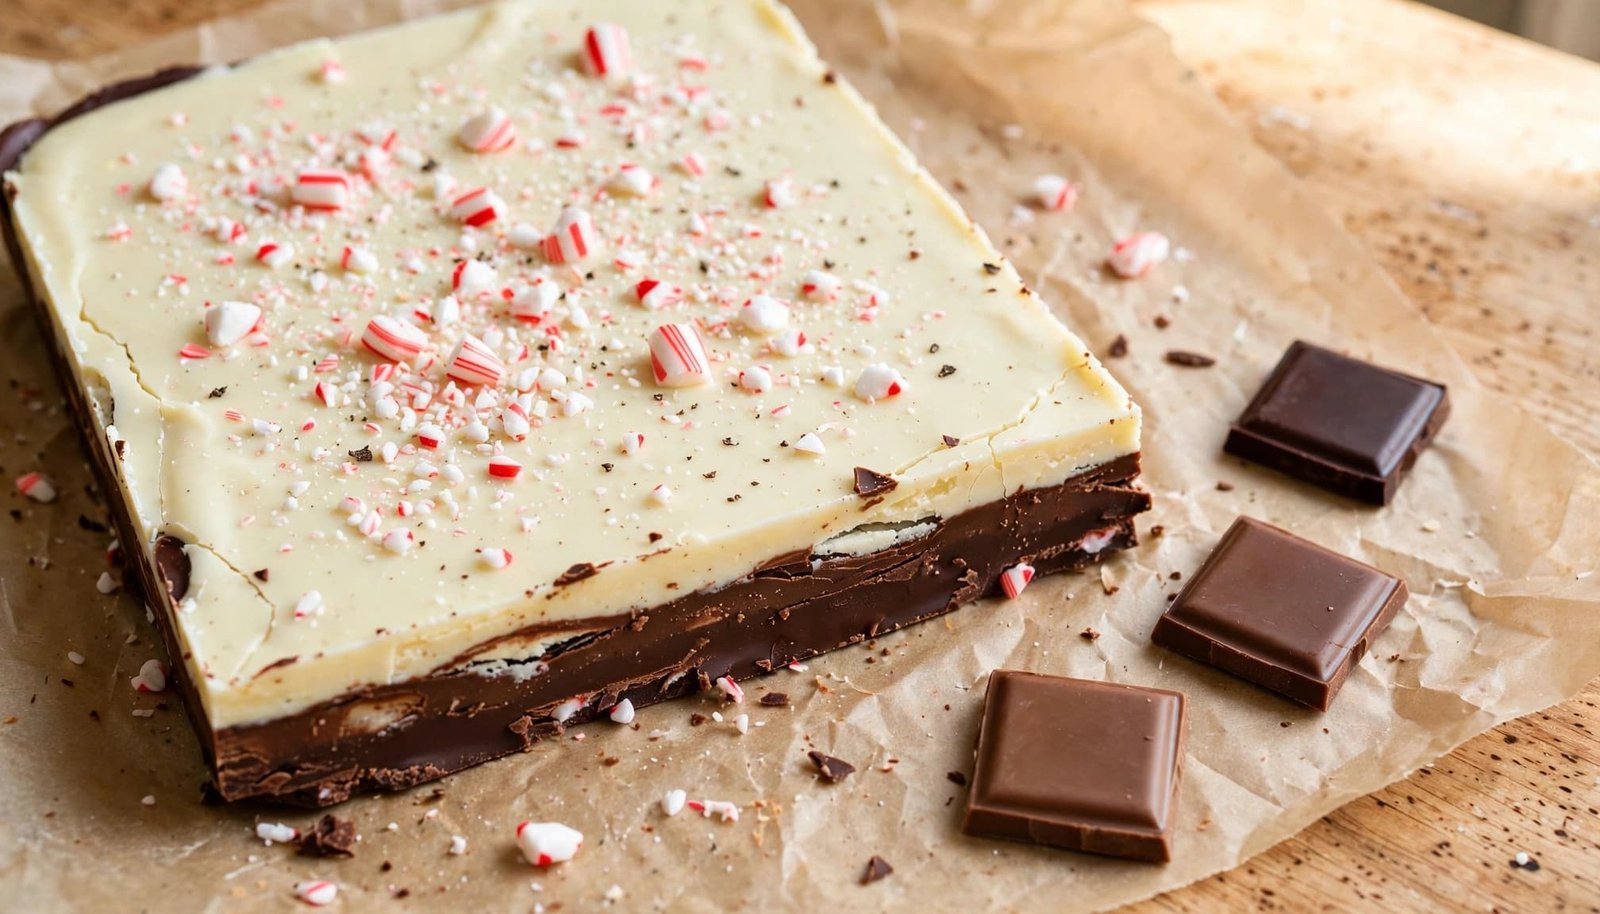
Semisweet chocolate gives peppermint bark a familiar, clean sweetness that pairs well with the candy topping. Dark chocolate tastes richer and less sweet, which can balance the white chocolate and peppermint. If you prefer a softer, sweeter flavor, choose milk chocolate for the base. It makes the finished bark taste gentler and more dessert-like, a good fit for kids or anyone who prefers mild chocolate.
For a classic balance, use equal amounts of dark and white chocolate, as in the recipe above. To make a less-sweet batch, increase the dark chocolate layer slightly. Keep in mind that chocolate type affects the overall flavor more than the method: pick a base that suits the people who will share the bark. For another family-friendly chocolate pairing, see our chocolate chip cookie ideas for Father’s Day.
Chocolate choice also affects how easily the base melts. Bars chopped into small, similar-sized pieces heat more evenly than a large block. Stir often, and stop heating as soon as the chocolate turns smooth. Chocolate can scorch when overheated, so short bursts or gentle heat are easier to control.
Use real white chocolate for a creamy top layer
Real white chocolate contains cocoa butter, which gives it a creamy taste and texture. Some white baking chips and candy coatings use different fats or ingredients, so they may not melt or taste exactly like white chocolate. Check the package ingredients, and look for cocoa butter. The FDA’s white chocolate standard of identity outlines what qualifies as white chocolate.
White chocolate needs a little care at the stove or in the microwave. Heat it gently, then stir frequently, even when it still looks partly solid. The remaining pieces often melt as you stir. If it gets too hot, white chocolate can scorch; even a small amount of water or steam can make it seize into a thick mass. Products vary, so follow the package directions when they differ from your usual method. Once the white chocolate is smooth, spread it over the base while that layer is set but still slightly tacky.
Get clean layers, a crisp snap, and plenty of peppermint crunch
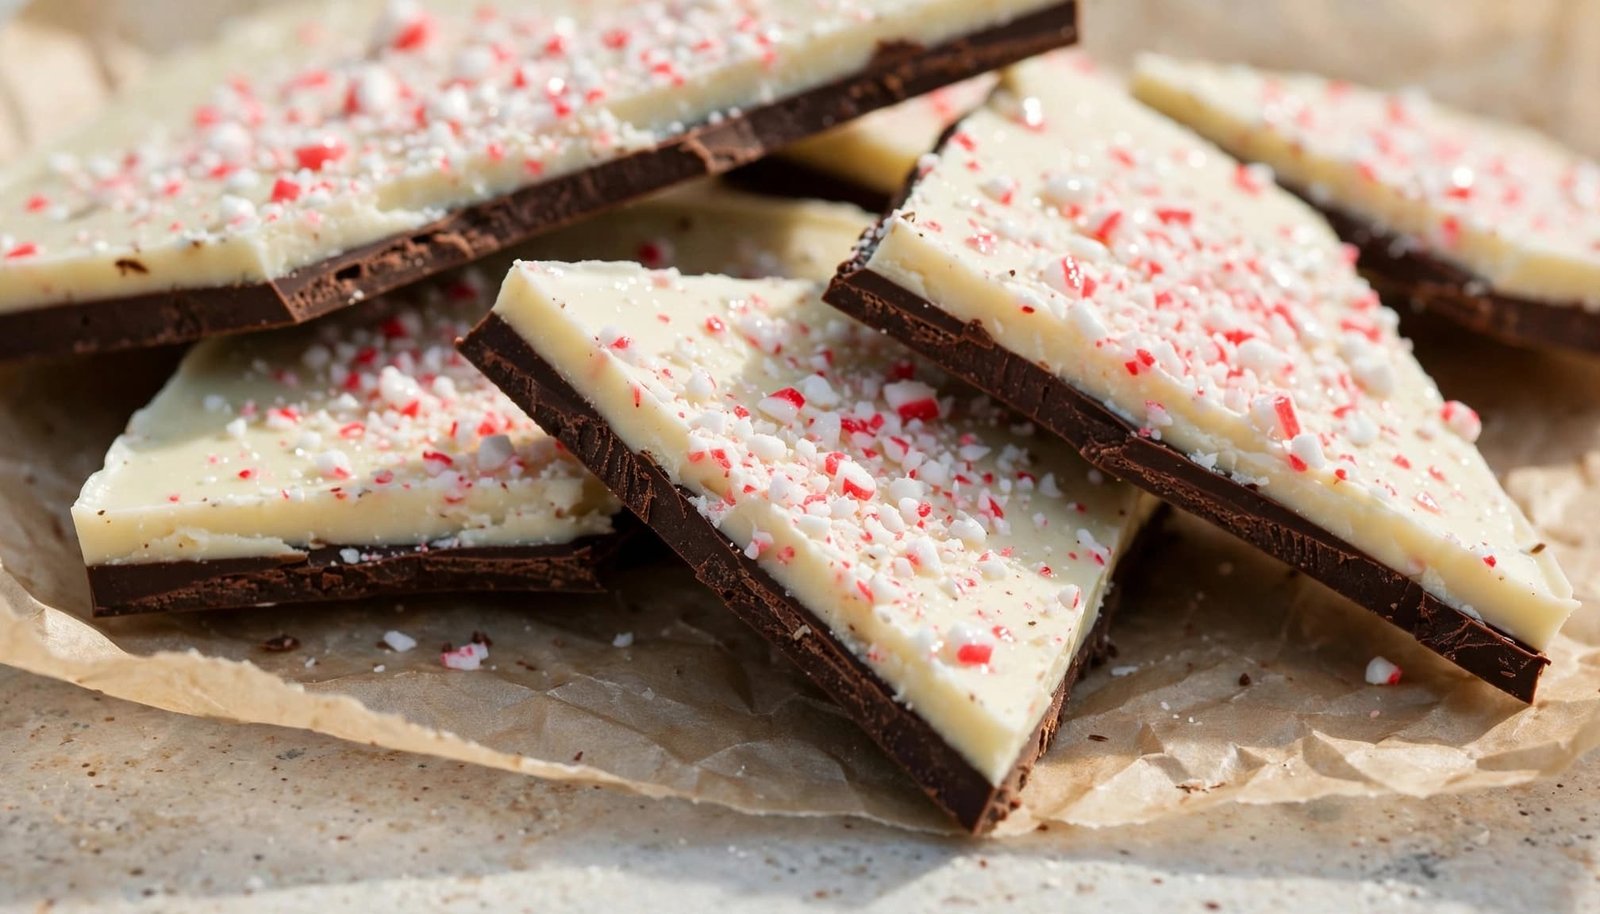
A few small choices make homemade peppermint bark easier to break and more enjoyable to eat. Keep moisture away from the chocolate, watch the moment you layer, and add the candy while the white chocolate is still soft.
Keep water and high heat away from melting chocolate
Even a little steam or water can make melted chocolate seize, turning it thick and grainy instead of smooth. Keep bowls, spatulas, and other utensils completely dry, and make sure a double boiler’s bowl does not touch the water below. Let the water barely simmer, since vigorous boiling sends more steam toward the chocolate.
A microwave also works well when you use short bursts at 50% power and stir between each one. Stop heating while a few small pieces remain; the warm chocolate will melt them as you stir. This gentle approach helps prevent scorching, especially with white chocolate. King Arthur Baking explains how water can cause chocolate to seize.
Add the top layer while the base is still slightly soft
The dark chocolate should look set on top, but still give a little when you touch it gently. That tacky, dentable surface gives the white chocolate something to bond with. If the base cools until it is completely hard, it can contract and separate from the warm top layer when you break the bark.
Timing depends on the room and the thickness of the chocolate, so use the surface as your guide rather than relying only on the clock. After spreading the white chocolate, press the crushed candy canes lightly into it before it sets. A gentle touch helps the pieces stick without pushing them through to the dark layer.
Crush candy canes without turning them into dust
Put peppermint candies in a sealed bag, then tap them with a rolling pin or heavy pan. Stop when you have mostly small pieces and a little fine candy. That mix gives the topping an even crunch, while avoiding large shards that can make each bite awkward.
Peppermint candy can soften when it meets moisture, so sprinkle it over the white chocolate just before chilling. Then chill the bark until firm, checking that the center has set before you break it into pieces. For a harder, shinier finish with a more distinct snap, tempering the chocolate is an optional extra step. Otherwise, gentle melting and careful chilling make a satisfying batch for the family, or a kid-friendly chocolate bark activity.
Try easy peppermint bark variations for your family
Keep the same melt, layer, chill, and break method, then adjust the flavors to suit the people sharing the pan. Small changes to the chocolate and toppings can make each batch feel a little different.
Make the bark sweeter, darker, or extra minty
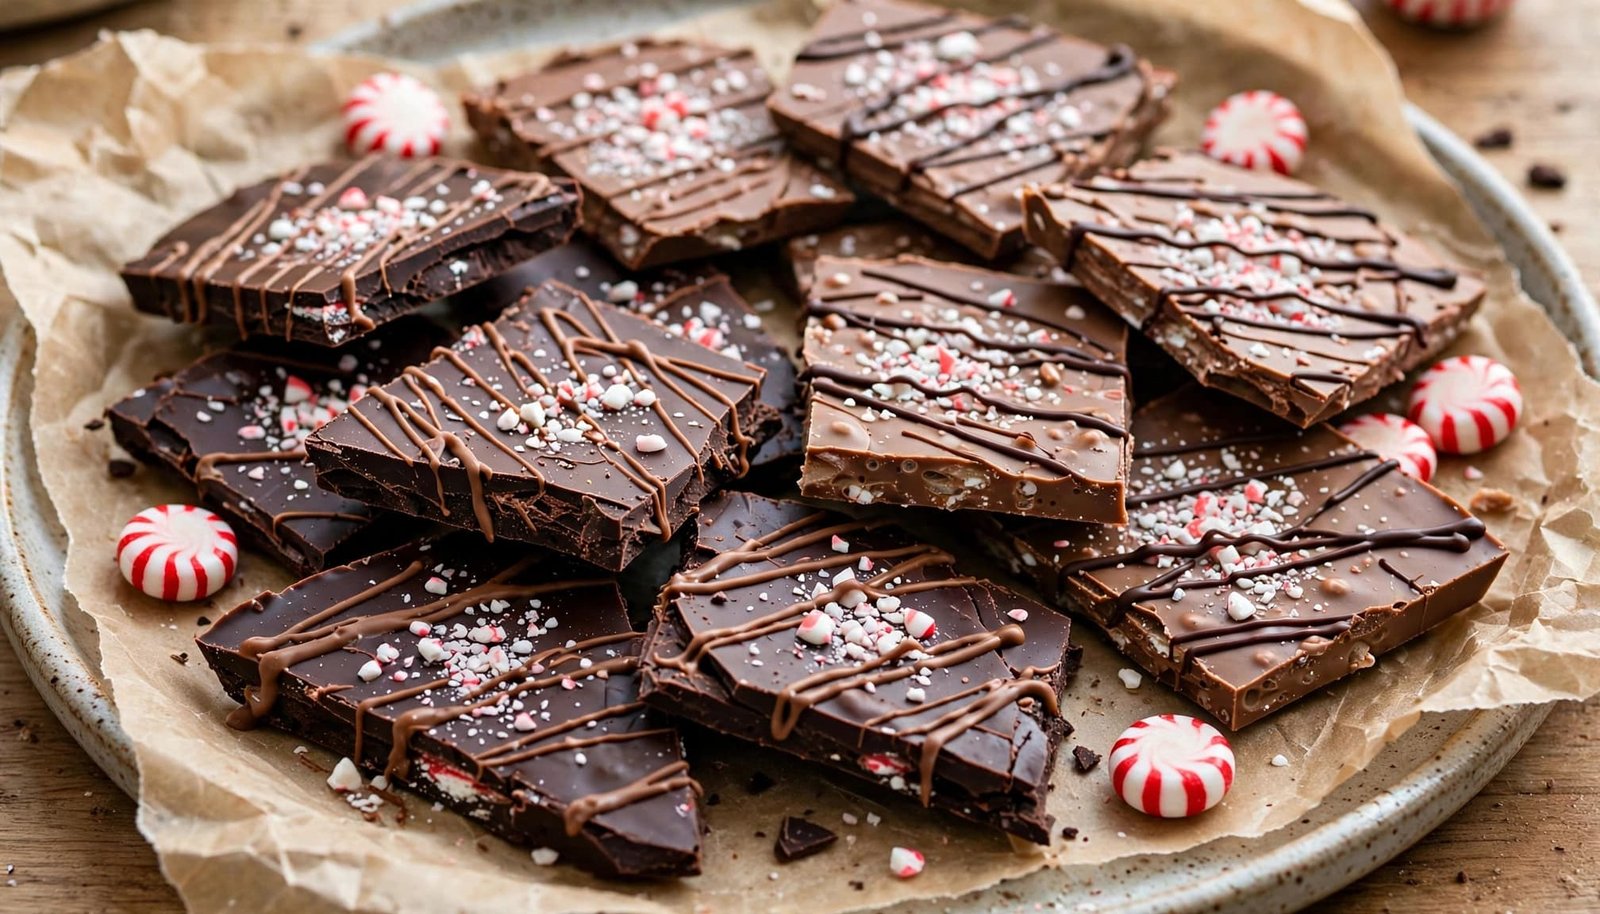
For a sweeter batch, swap the semisweet or dark base for milk chocolate. If your family likes a stronger contrast with the white chocolate, choose a darker base instead. You can also boost the peppermint flavor by adding a little more extract to one or both layers.
Add peppermint extract one drop at a time, tasting as you go. Its flavor can quickly overpower the chocolate, especially in a small batch. For a simple finish, sprinkle on a light dusting of finely crushed peppermint, or drizzle a small amount of melted chocolate over the set bark. Keep the toppings modest so they add crunch or decoration without covering up the chocolate.
These easy swaps let everyone choose a favorite without changing the basic method. For another shareable treat, try our easy no-bake energy balls.
Adapt the ingredients for dairy-free or other dietary needs
To make a version that fits a dairy-free or vegan diet, look for products labeled for that need, including both chocolate layers, the peppermint candy, and the extract. White chocolate can be the tricky part, so check that its package specifically identifies it as dairy-free or vegan rather than assuming all white baking products fit.
For allergies, read the current ingredient list and allergen statement on every package before preparing the bark. Ingredients and manufacturing information can change, and candies or extracts may contain unexpected allergens. The FDA’s food allergen labeling guidance explains how packaged foods identify major allergens.
A dairy-free or vegan label does not automatically guarantee that a product is safe for someone with an allergy or free from cross-contact. Use only products whose packaging supports your household’s needs, and follow any specific precautions recommended for the allergy.
Store peppermint bark so it stays crisp and fresh
Peppermint bark keeps its snap best when you protect it from heat and moisture. Let it set completely before packing, so the chocolate and peppermint topping stay crisp.
Keep pieces airtight in a cool, dry place
Place the pieces in an airtight container, with parchment paper between layers to prevent sticking and chipped edges. Store it in a cool, dry spot away from sunlight, the stove, and other warm areas. Humidity can soften the candy topping, while warmth can make the chocolate lose its firm texture.
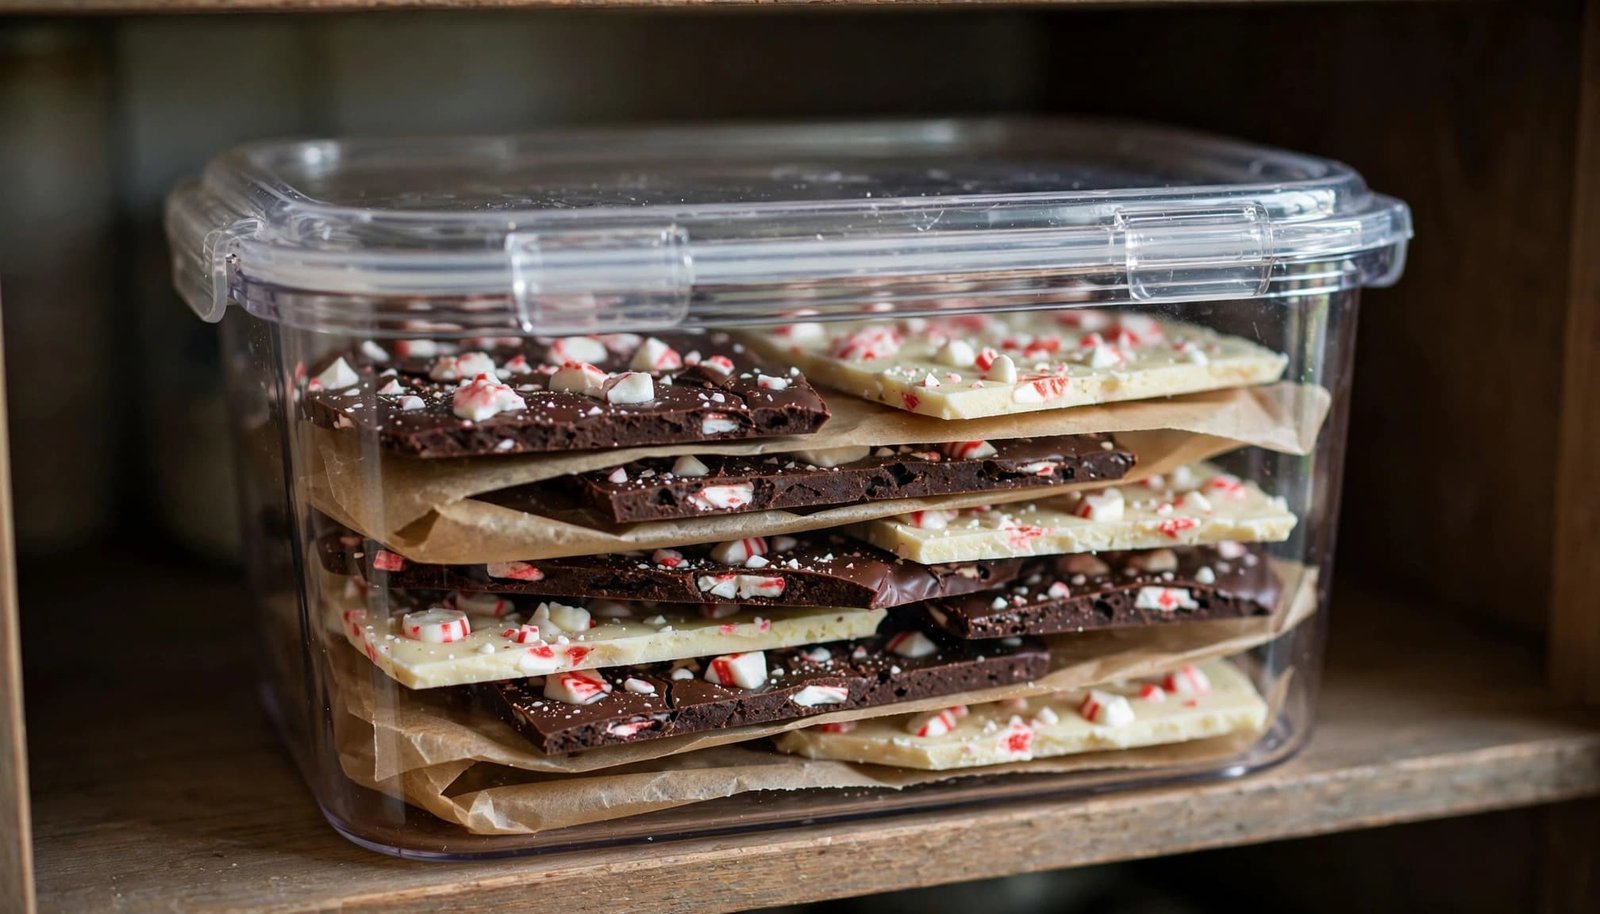
For the homemade bark in this recipe, use about one week as a conservative freshness guideline. The exact time depends on the ingredients, how well the container seals, and the conditions where you store it. King Arthur Baking’s peppermint bark recipe also recommends airtight room-temperature storage for up to a week. If your kitchen runs warm, refrigerate the sealed container instead.
Chill or freeze the bark without trapping moisture
Refrigeration can help keep peppermint bark firm in a warm kitchen, but moisture and temperature swings may dull the chocolate or affect its finish. Keep the container sealed while it chills. When you take it out, let it come closer to room temperature before opening. This gives condensation a chance to form on the outside of the container, rather than on the chocolate.
For longer storage, freeze the bark in a sealed container with parchment between the layers. Thaw it while it’s still wrapped or sealed, then open the container once it has warmed closer to room temperature. This helps limit condensation, which can soften the candy and leave the chocolate looking less glossy.
Conclusion
Good peppermint bark starts with gently melted chocolate, well-timed layers, and a crunchy peppermint topping. Choose a dark, semisweet, or milk chocolate base to create the balance your family enjoys, then let the finished bark set completely before breaking it into pieces.
Pack the crisp pieces in a small airtight container when you’re ready to share. With a little care at each step, homemade peppermint bark is a simple, festive treat to enjoy together.
Save the pin for later


- 5 Holiday Baking Recipes for a Cozy Family Baking Day - November 12, 2026
- Easy Homemade Peppermint Bark with Clean, Snappy Layers - November 12, 2026
- Grinch Cookies: Soft Green Crinkle Cookies with Red Hearts - November 11, 2026