

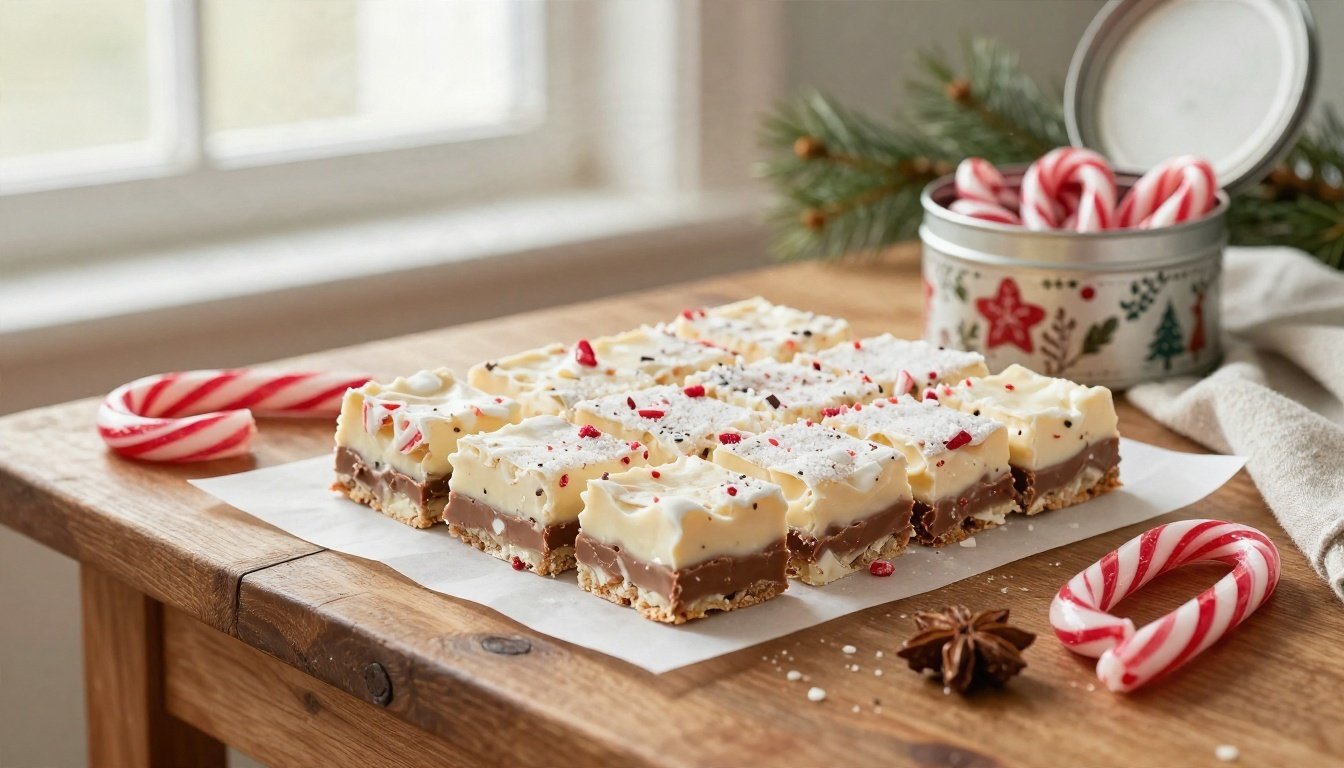
Peppermint bark snaps with each bite, while soft fudge cuts into neat little squares, making homemade Christmas candy a sweet fit for holiday sharing.
These Christmas candy recipes include options for different skill levels, plus practical tips for choosing tools, cooking safely, and storing each treat. Kids can help with the cool, creative steps, too, while adults handle hot pans and sugar.
Start with an easy favorite and find the right recipe for your holiday candy box. For more fun kitchen activities to do with kids, let them help with the festive finishing touches.
Christmas Candy Recipes for Easy Holiday Treats
Peppermint bark and fudge bring two different textures to a holiday candy box: crisp chocolate shards and soft, creamy squares. Both recipes use familiar ingredients, and the bark needs only a short stint in the refrigerator to set.
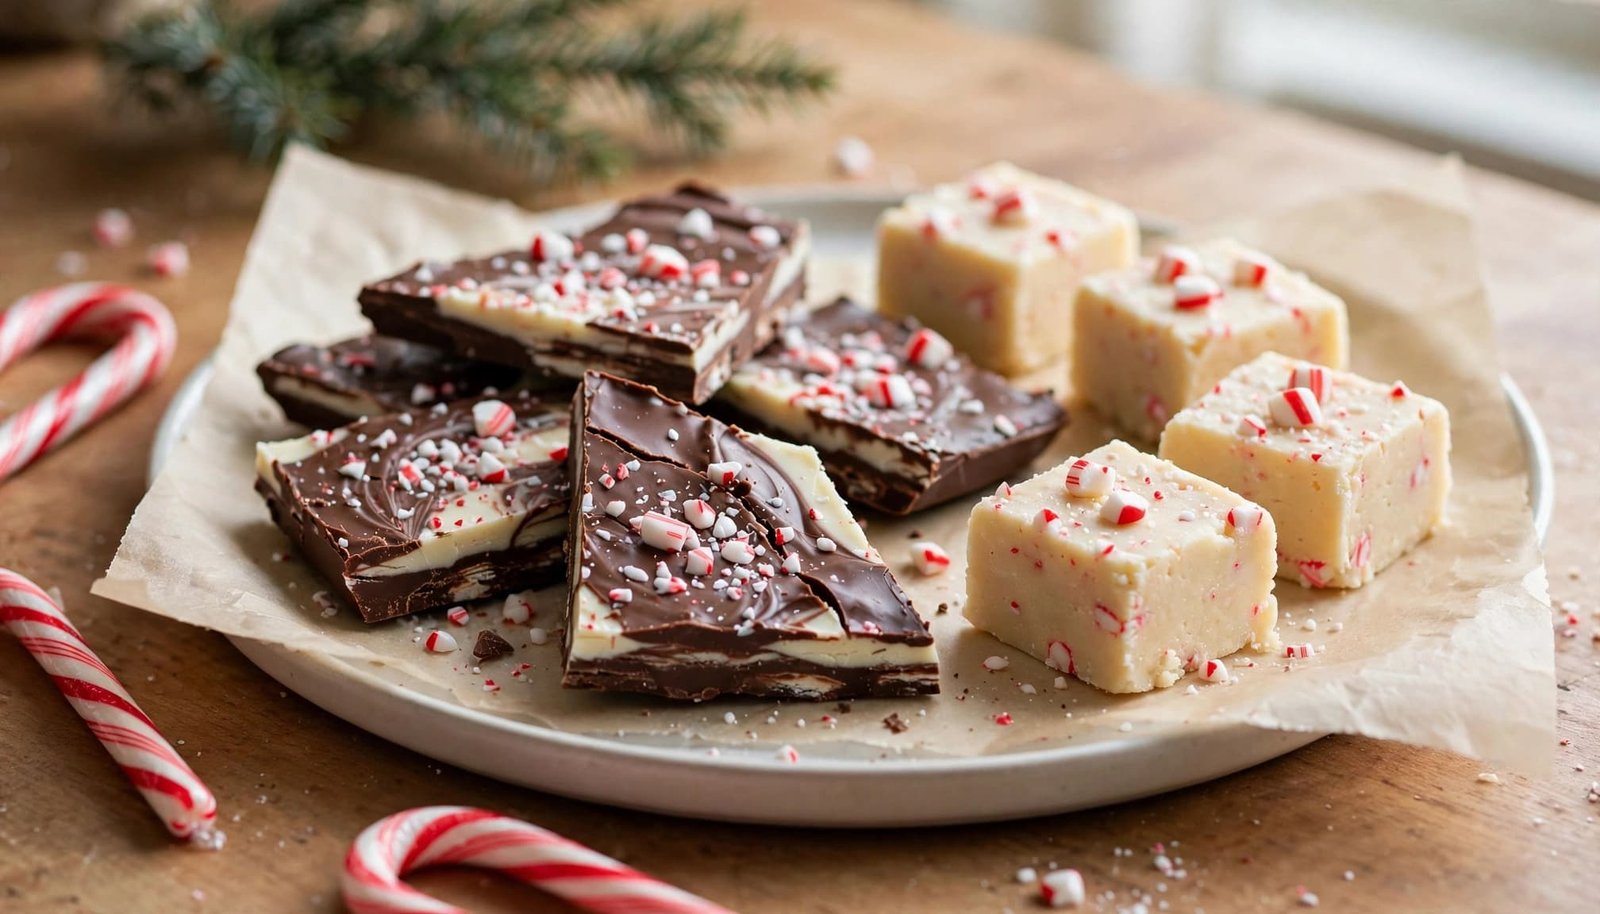
Peppermint Bark That Sets in Layers
This simple layered version combines dark and white chocolate with crushed candy canes. For another take on the classic, see Simply Recipes’ peppermint bark.
Yield: About 20 pieces
Prep time: 15 minutes
Setting time: 1 hour
Ingredients:
- 8 ounces dark or semisweet chocolate, chopped
- 8 ounces white chocolate, chopped
- 4 candy canes, crushed
- ¼ teaspoon peppermint extract, divided
Directions:
- Line a rimmed baking sheet with parchment paper. Place the dark chocolate in a heatproof bowl over a saucepan of gently simmering water. Keep the bowl above the water, with its bottom clear of the surface, and stir until the chocolate melts.
- Remove the bowl from the pan and stir in half the peppermint extract. Spread the chocolate into a thin rectangle on the parchment. Let it sit for about 10 minutes, until the surface is set but still slightly tacky.
- Melt the white chocolate the same way, then stir in the remaining extract. Spread it over the dark layer and sprinkle with crushed candy canes.
- Refrigerate for about 1 hour, until firm. Break the bark into pieces by hand or cut it with a sharp knife.
Smooth Peppermint Bark Fudge
This stovetop fudge has distinct dark and white chocolate layers, with candy cane crunch on top. The recipe reaches its endpoint with a candy thermometer, so keep stirring and watch the temperature closely. For the full source method, see House of Nash Eats’ peppermint bark fudge.
Yield: About 64 small pieces
Prep time: 10 minutes
Cook time: About 10 minutes
Setting time: 4 to 6 hours at room temperature, or 1 to 2 hours in the refrigerator
Ingredients:
- 3 cups granulated sugar
- 1 can (12 ounces) evaporated milk
- 2 cups miniature marshmallows
- 1 cup salted butter, cubed and divided
- 1½ cups chopped dark chocolate or semisweet chocolate chips
- 1½ cups chopped white chocolate or white chocolate chips
- ½ teaspoon vanilla extract
- ¼ teaspoon peppermint extract
- ⅓ cup crushed candy canes, plus 2 tablespoons for topping
Directions:
- Line a 9-inch square pan with parchment paper, leaving an overhang. Measure out the butter and chocolates before you start.
- In a heavy-bottomed saucepan, combine the sugar, evaporated milk, and marshmallows. Bring to a boil over medium heat, stirring frequently.
- Continue cooking and stirring until a candy thermometer reads 235 to 240°F, about 8 to 10 minutes. The right endpoint depends on the fudge formula, so use the temperature specified for this recipe.
- Remove the pan from the heat. Stir in half the butter, dark chocolate, and vanilla until smooth. Spread this mixture evenly in the prepared pan.
- In a clean saucepan, melt the remaining butter with the white chocolate. Stir in the peppermint extract and crushed candy canes, then spread over the dark layer. Sprinkle with the remaining candy.
- Let the fudge set fully before lifting it from the pan and cutting it into squares.
More Christmas Candy Recipes for Gift Boxes
A box of homemade candy feels more personal when it includes different textures. Soft caramels pair well with crisp chocolate bark or smooth chocolate-coated truffles.
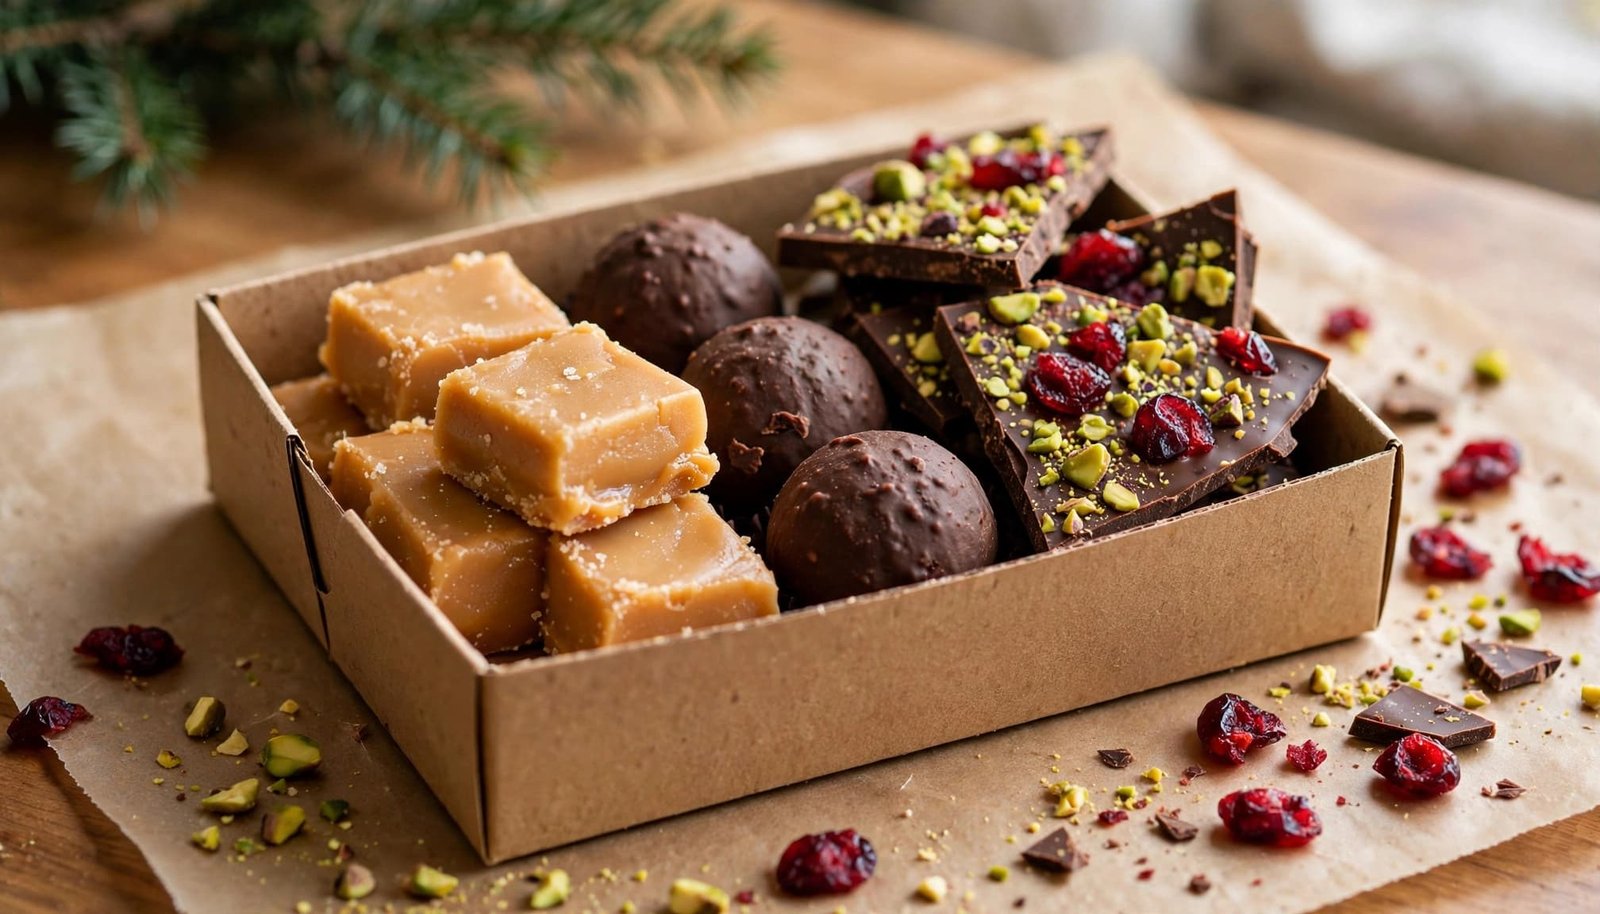
Soft Homemade Caramels
This slow-cooked recipe makes about 10 dozen 1-inch caramels. Use a heavy-bottomed 5- to 6-quart saucepan and a candy thermometer. Hot sugar can cause severe burns, so an adult should handle the cooking and pouring.
Ingredients:
- 4 cups half-and-half
- 2 cups light corn syrup
- 4 cups granulated sugar
- 2 cups packed light brown sugar
- 1 pound cold unsalted butter, cut into 1-inch pieces
- 2 teaspoons table salt
- 2 tablespoons plus 2 teaspoons vanilla extract
- Flaky sea salt, optional
Directions:
- Butter two 8-inch square pans or two 10½-by-6½-inch pans. Measure the vanilla and set it aside.
- Combine the half-and-half, corn syrup, both sugars, butter, and table salt in the saucepan. Heat over medium-low, stirring constantly, until the butter melts and the mixture is smooth.
- Attach the thermometer and keep cooking slowly, stirring constantly, until the mixture reaches 248°F. This takes about two hours. Slow, steady heat helps the sugar cook evenly, while regular stirring reduces the risk of scorching. Watch closely near the endpoint, when the temperature can climb faster.
- Remove the pan from the heat and carefully stir in the vanilla. The mixture will bubble. Pour it into the prepared pans without scraping the residue from the pot into the candy. If desired, sprinkle with flaky salt after 30 minutes.
- Let the caramel cool completely until firm. Cover and refrigerate to make cutting easier, then cut into 1-inch pieces. Wrap each caramel in waxed paper or parchment.
For the source method and additional notes, see King Arthur Baking’s caramels recipe.
Chocolate Bark, Truffles, and No-Bake Bites
For a quick gift-box addition, spread melted chocolate into a thin layer and finish with festive toppings such as chopped pistachios, dried cranberries, or crushed candy canes. Chill until firm, then break the sheet into pieces. Chocolate-coated truffles offer a richer option, especially when you already have a tested truffle filling recipe.
Tempering takes more care than melting chocolate for quick bark, but it gives the finished coating a glossy look and crisp snap. King Arthur Baking recommends melting dark chocolate to 122°F, then working it at 86–90°F. For milk or white chocolate, melt to 105°F and work at 84–86°F. See King Arthur’s chocolate-tempering guide for its seeding method. If you want a simple no-bake candy, choose a tested recipe with exact amounts and setting directions, then let children help add cooled toppings or pack the finished treats.
The Tools and Techniques That Help Candy Turn Out Right
A few reliable tools make Christmas candy recipes easier to manage, especially when hot sugar or melted chocolate is involved. Set everything out before cooking, and keep children away from the stove while adults handle hot pans and mixtures.
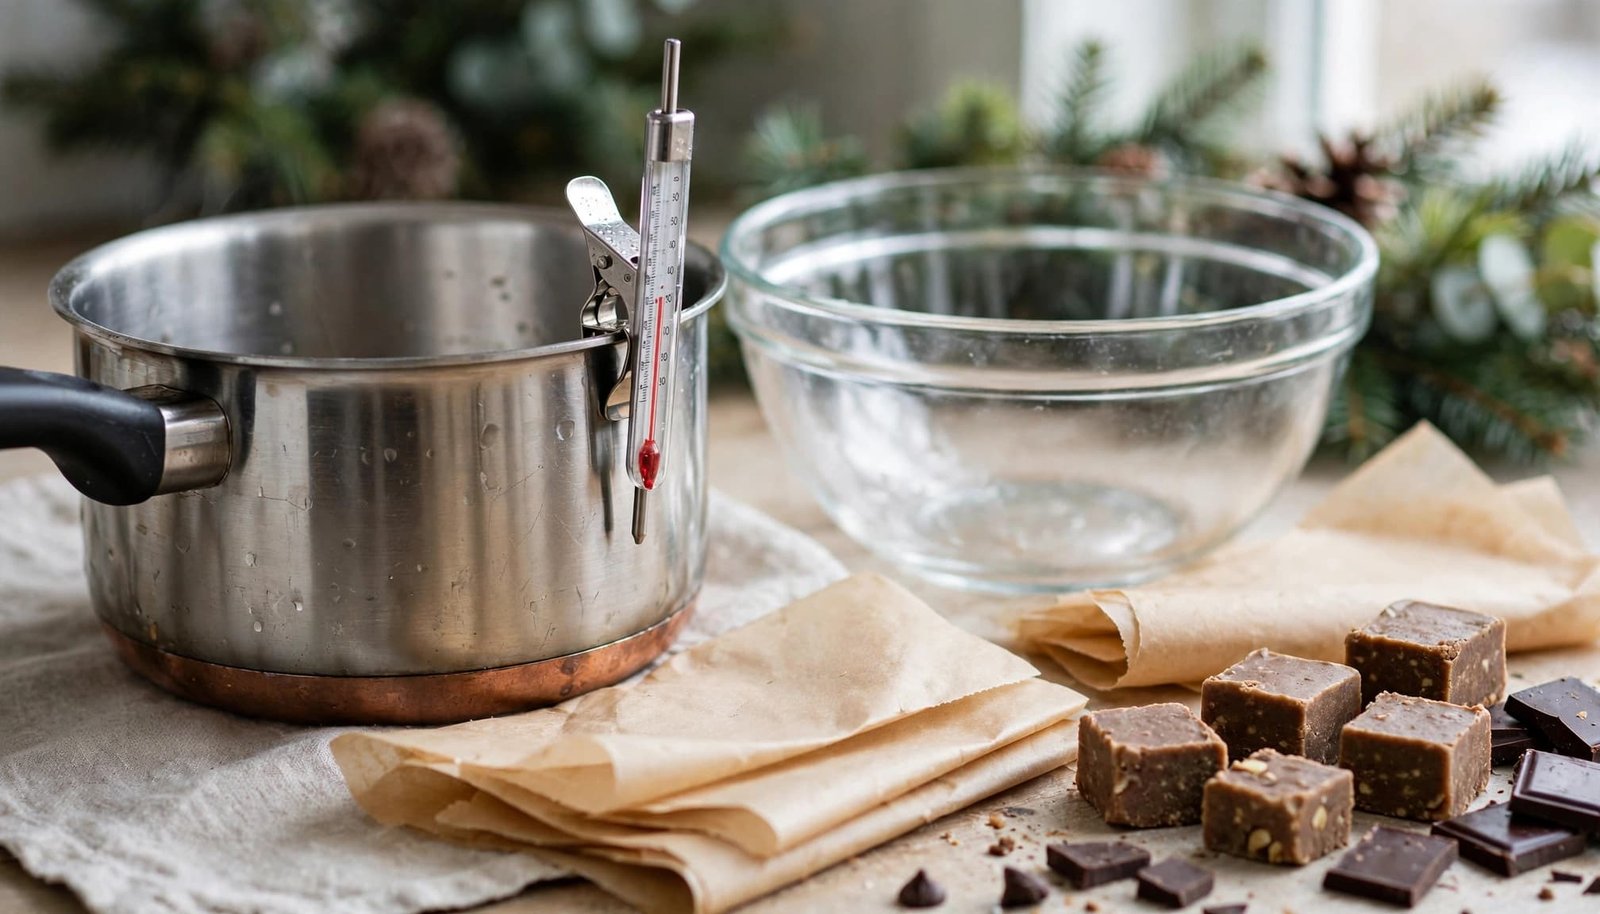
Use a Thermometer for Fudge and Caramel
Choose a heavy-bottomed saucepan with a flat base and enough room for the mixture to bubble without boiling over. The thick base spreads heat more evenly, which helps prevent scorching as sugar cooks. A pan that is too small can also make stirring awkward and increase the risk of splashes.
Before cooking, clip a candy thermometer to the side of the pan. Position it so the sensing tip sits in the mixture but doesn’t touch the bottom or sides, where the metal can give a misleading reading. If the mixture is shallow, tilt the pan slightly while checking, but keep the thermometer tip submerged.
Follow the endpoint in the specific recipe rather than using one temperature for every candy. Some cooked fudge recipes call for about 234–240°F, while caramel recipes may use a different target. The formula and texture depend on that endpoint. At higher elevations, boiling temperatures shift, so use an altitude adjustment when the recipe provides one. For example, this peppermint bark fudge recipe gives an adjustment for altitude.
Melt Chocolate Gently and Keep Water Away
For bark or coatings, melt chocolate slowly in a dry, heatproof bowl set over a pan of gently simmering water. The bowl should sit securely above the water, with its base clear of the surface. A microwave also works, but use short bursts and stir between each one. Chocolate can scorch if overheated, and even a small splash of water can make melted chocolate seize into a thick, grainy mass.
Parchment paper keeps candy from sticking and makes cleanup easier. Line pans before pouring fudge or spreading bark, and leave an overhang when you want to lift a slab out for cutting. Once the pieces have cooled and set, store them in airtight containers. Separate sticky layers with parchment so caramels and fudge don’t cling together.
Tempering is optional for quick bark, but it helps chocolate set with a glossy finish and crisp snap. For the advanced seeding method, King Arthur Baking melts dark chocolate to 122°F, or milk and white chocolate to 105°F, then stirs in unmelted chocolate. Cool and work dark chocolate at 86–90°F; milk or white chocolate should reach 84–86°F. Follow King Arthur Baking’s tempering instructions for the full method. Children can help with cooled toppings or packing finished treats, a good fit for other kid-friendly kitchen activities.
Simple Ways to Make Candy Work for the Whole Family
Homemade Christmas candy recipes can turn into a family activity when everyone has a safe, age-appropriate job. Keep the hot work with an adult, then invite kids to help decorate, organize, and package the cooled treats.
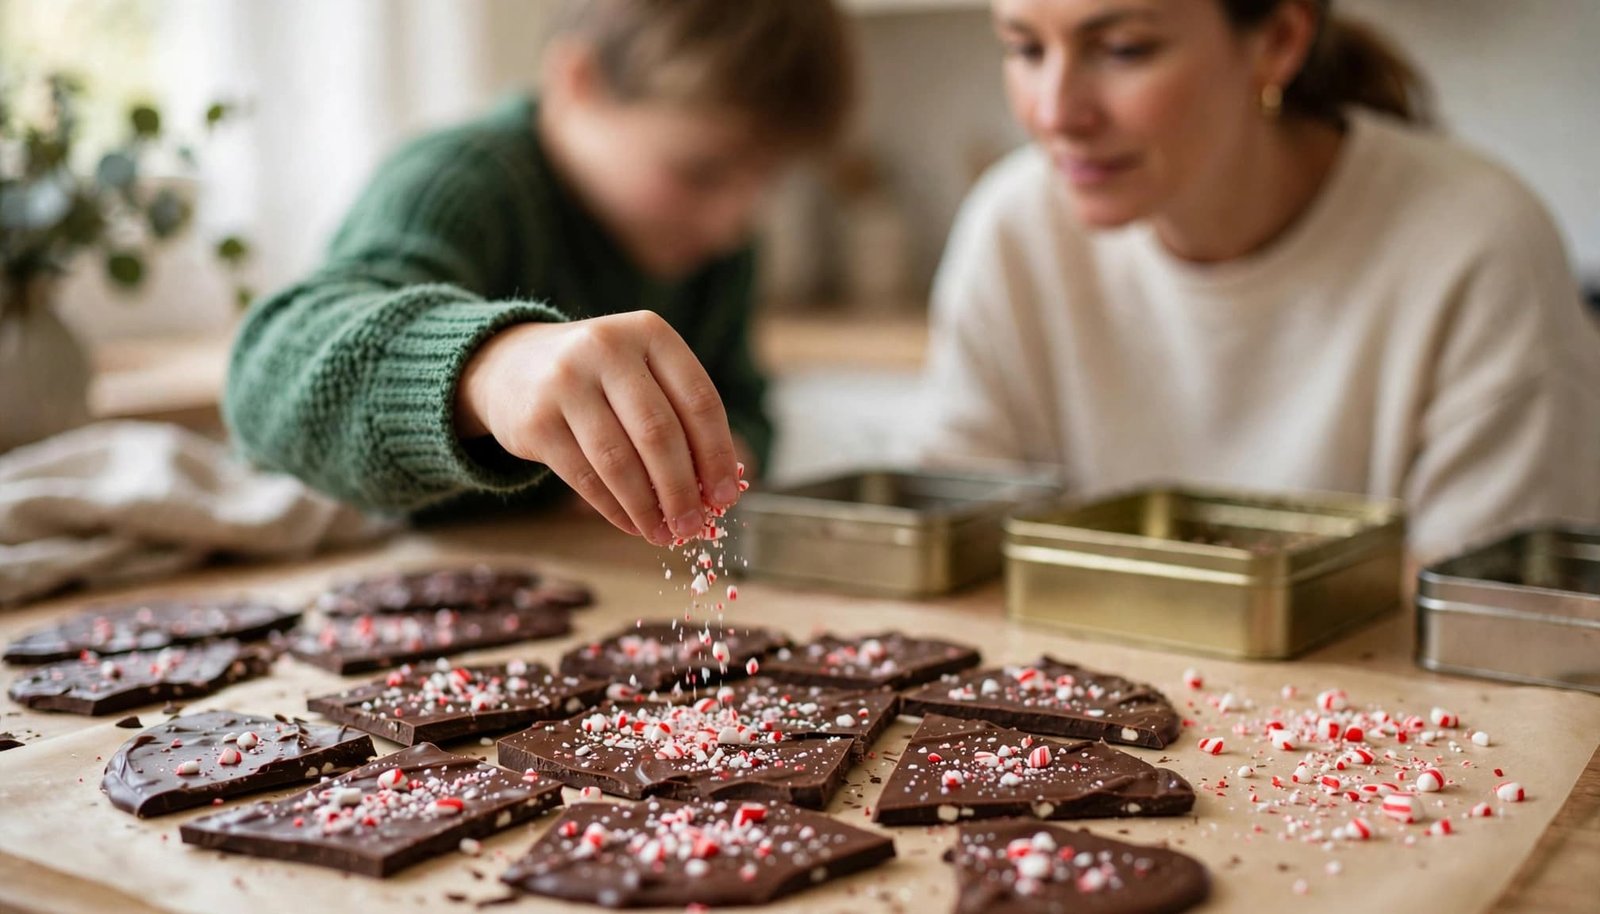
Let Kids Handle the Cool, Creative Steps
Children can measure toppings into small bowls, line gift containers with parchment, or arrange wrappers and tins while an adult prepares the candy. Once an adult spreads the melted chocolate, kids can sprinkle on crushed candy canes or festive sprinkles. After everything has cooled and set, they can help break bark into pieces, pack the boxes, or add gift labels.
Adults should handle the stove, candy thermometer, hot pans, melted chocolate, and boiling sugar. Keep children away from the cooking area while candy is heating, since hot mixtures can cause serious burns. Choose tasks that fit your child’s age and ability to follow directions, and stay close while they work. For more ideas, see these age-appropriate kitchen chores for kids.
Choose Toppings and Flavors That Fit Your Crowd
A few small swaps can make one batch feel personal. Use dark chocolate for a less-sweet bark or milk chocolate for a creamier flavor. Crushed peppermint adds a cool crunch, while toasted nuts bring a rich, savory note. For a simple finish without extra flavor, scatter on festive sprinkles. A pinch of salt can also balance sweetness in chocolate bark or fudge.
Before adding nuts or other common allergens, check who will be eating the candy. Milk, peanuts, tree nuts, soy, and wheat are among the major food allergens identified by the FDA. If you’re sharing treats, label each gift box with its ingredients and note potential cross-contact when allergens are present. The FDA’s food allergy guidance offers a useful reference for recognizing common allergens.
How to Store, Make Ahead, and Package Christmas Candy
Good storage protects both texture and flavor, but Christmas candy recipes don’t all keep the same way. Check each recipe’s guidance, then choose an airtight container and storage temperature that suits the candy.
Keep Each Candy Fresh With the Right Storage
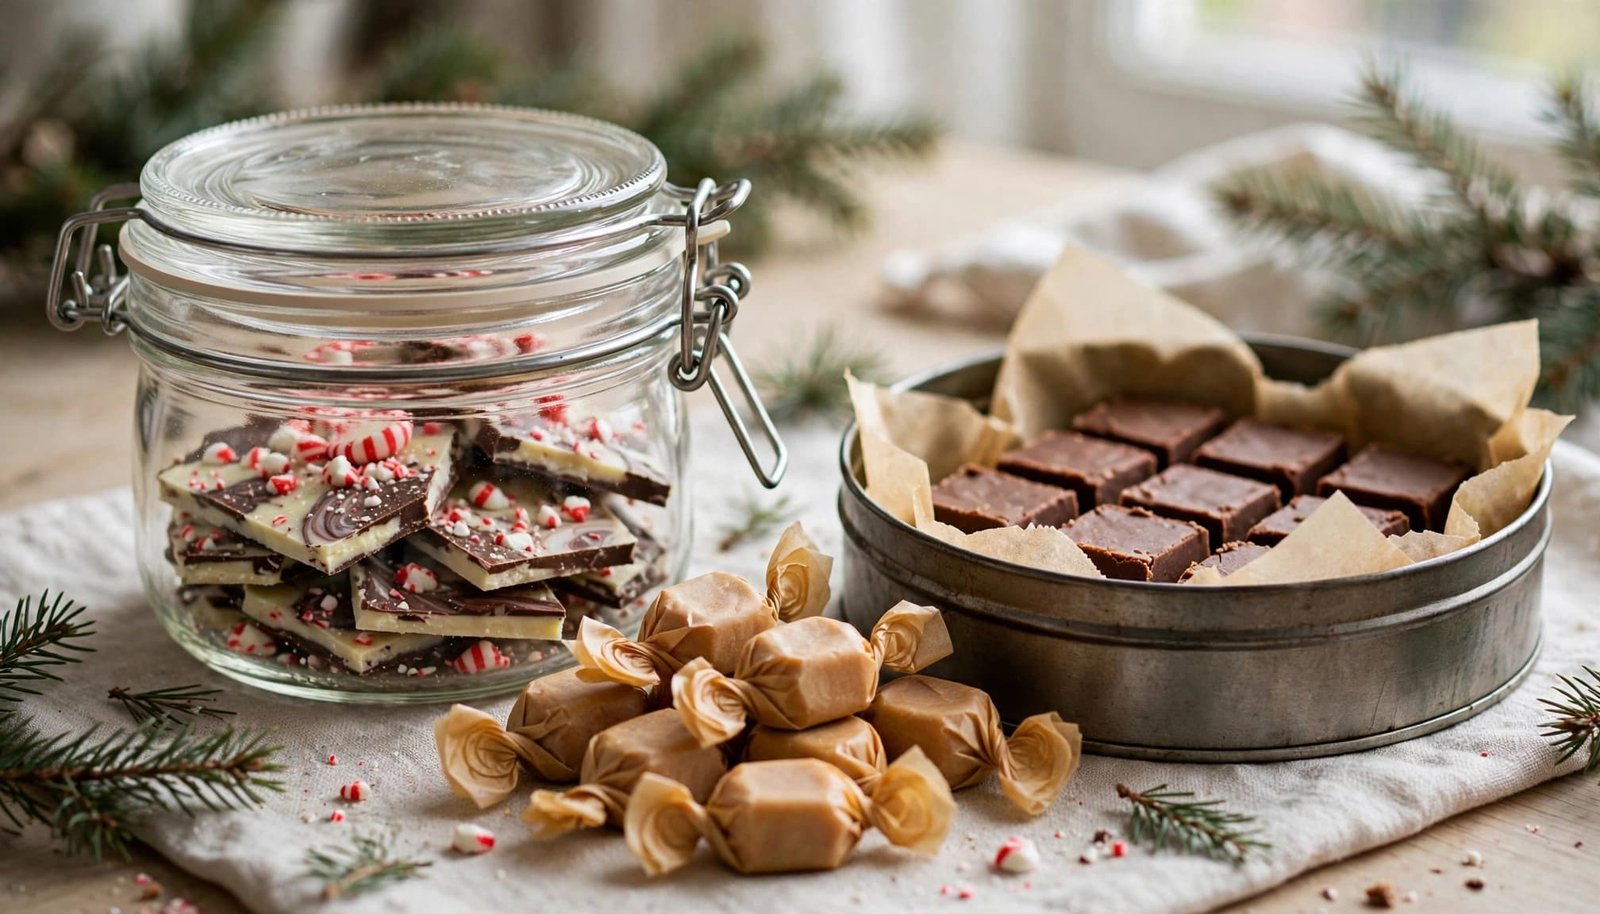
Peppermint bark can stay in an airtight container at room temperature for weeks, or in the refrigerator for up to a month, as directed by Simply Recipes’ peppermint bark recipe. Keep it away from heat and moisture. If you chill it, let the container warm up before opening. Otherwise, condensation can form on the candy and soften its crisp layers.
For the peppermint bark fudge recipe above, store cut pieces airtight at room temperature for 3 to 4 days, or refrigerate them for up to 1 week. Place parchment or waxed paper between layers so the pieces don’t stick together. The recipe’s timing applies to that fudge, not every fudge formula.
Caramels need a different approach. Once cool, cover them tightly and refrigerate them for easier cutting and longer storage. Wrap individual pieces in waxed paper or parchment to protect them from moisture and odors. The tested caramel recipe also allows freezing wrapped pieces; thaw them in the refrigerator, following USDA guidance on freezing and thawing food. Allow chilled candy to come closer to room temperature while still wrapped before serving.
Pack Small Pieces for Holiday Gifts
Let every piece cool and set completely before packing. Warm fudge can smear, and candy that’s still releasing heat can collect moisture inside a closed container. Use clean, food-safe tins or boxes, and line them with parchment or paper candy cups. For more simple presentation ideas, see these tips for packaging homemade treats as gifts.
Keep firm pieces in their own section, and separate sticky candies from bark. Add parchment between layers, and don’t stack delicate shards where heavier sweets could crack them. If a candy is especially fragile, place it in a small paper cup or a separate compartment.
Make-ahead plans should follow the tested recipe. Peppermint bark and caramels can be prepared before gifting when their recipe’s storage directions allow; wrap or seal them once fully set. Add a simple label with the candy’s name and key allergens, such as milk, peanuts, or tree nuts. That small detail helps families choose treats with confidence and keeps your gift box ready to share.
Conclusion
Choose an easy favorite, such as peppermint bark, then try a more hands-on candy when you have time. The best Christmas candy recipes are easier to share when you follow the recipe’s temperature targets, keep hot sugar and pans in adult hands, and store each treat as directed.
With kids helping on cool decorating and packing steps, making candy can become part of the holiday fun. Careful preparation turns a few homemade sweets into a gift box ready to share.
Save the pin for later


- Christmas Candy Recipes for Easy Treats and Gift Boxes - November 13, 2026
- 5 Holiday Baking Recipes for a Cozy Family Baking Day - November 12, 2026
- Easy Homemade Peppermint Bark with Clean, Snappy Layers - November 12, 2026

