
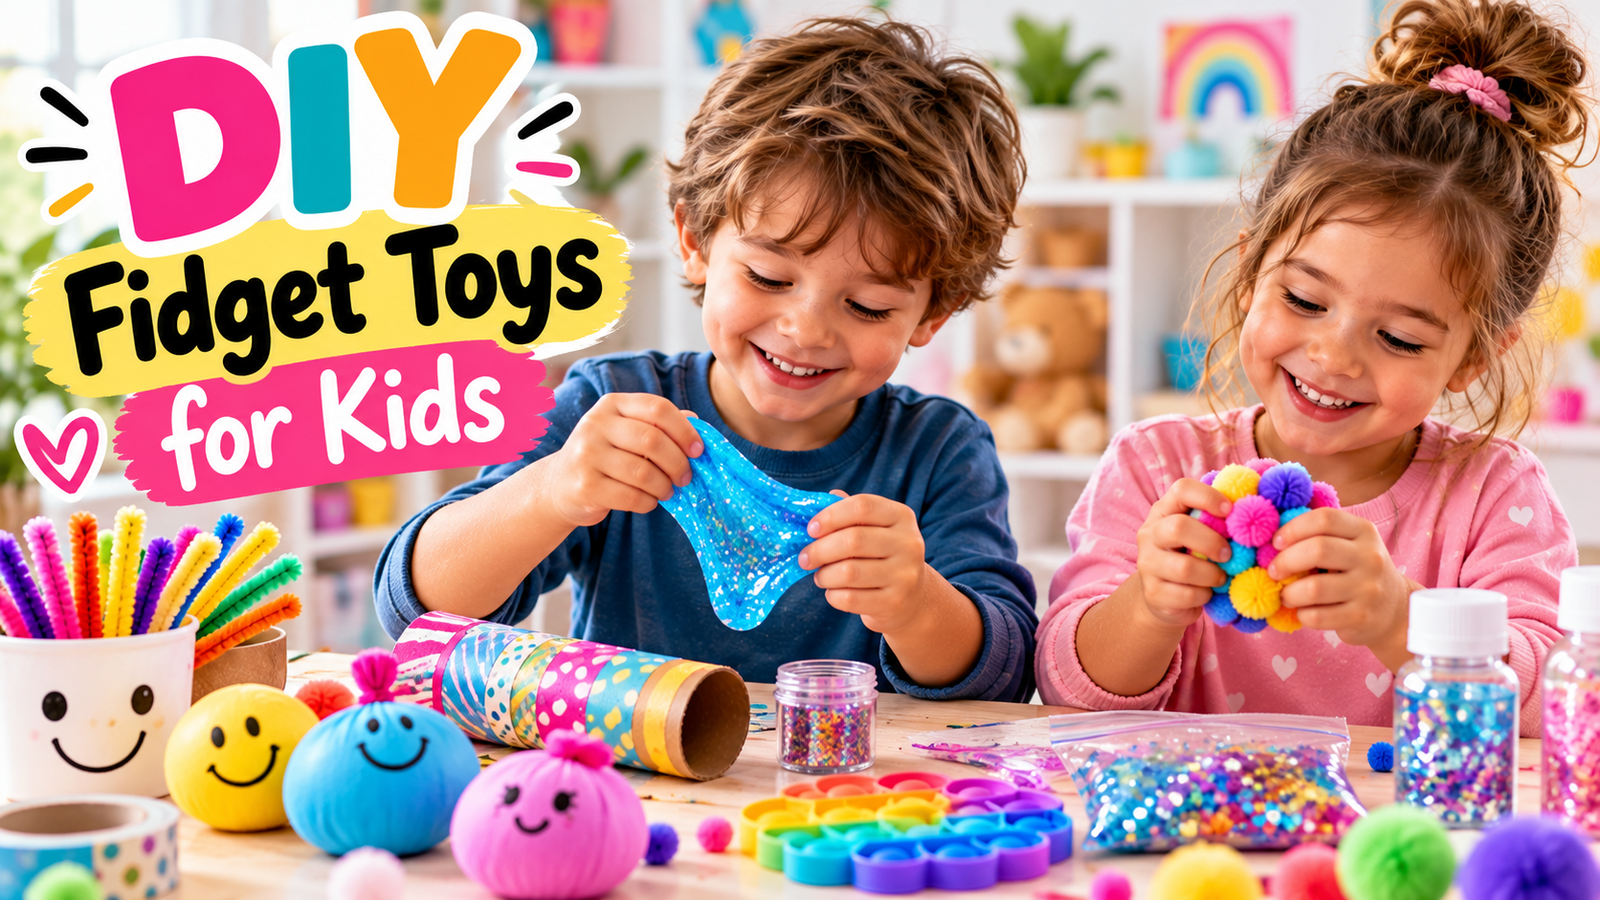
You buy a fidget spinner. It vanishes into a backpack within a week, and somehow it’s the third one this month. Sound familiar? Between lost toys and $10 price tags at the checkout line, keeping your kids stocked with fidgets gets expensive fast.
Here’s the good news: DIY fidget toys cost next to nothing, and most use stuff you already have at home. Balloons, paper clips, dried beans, old buttons. Better still, making them together turns into a fun weekend activity, and kids take extra pride in a toy they built themselves.
In this post, you’ll find seven easy projects, all under $5. We’ll cover why fidgets actually help kids (and adults) focus, the materials worth grabbing before you start, step-by-step instructions for every skill level, and how to match the right fidget to your child’s needs.
Grab a pair of scissors and clear off the kitchen table. Let’s get making.
Why Homemade Fidget Toys Actually Help (It’s Not Just a Trend)
Fidgeting gets a bad rap. Teachers see wiggling and assume distraction, but movement often does the opposite: it gives restless hands a job so the brain can settle down and pay attention. That’s the whole idea behind fidget tools, and it’s why occupational therapists have used them for decades.
The benefits fall into a few buckets. Fidgets can improve focus, burn off anxious energy, build fine motor skills through squeezing and twisting, and deliver sensory input for kids who crave it. The science is honestly mixed; some studies show real gains for children with ADHD, while others find little effect. Still, plenty of teachers, therapists, and parents report that the right fidget helps a child sit through circle time or finish homework without a meltdown. Every kid is different, and that’s exactly where homemade versions shine.
The Case for Making Your Own
Store-bought fidgets are one-size-fits-all. Your child, meanwhile, is very much one specific size. Maybe they need something quiet for the classroom, something squishy for car rides, or something with texture for a sensory-seeking kid. When you make fidgets yourself, you control the firmness, the noise level, the texture, and even the colors.
There’s a hidden bonus too. Kids who build their own fidgets are far more likely to actually use them, because they feel ownership over the toy. A balloon-and-flour stress ball your daughter decorated herself beats a $10 spinner she forgot about in a week. Cheap materials mean you can experiment freely until you find what works, and losing one costs you pocket change instead of real money.
Easy DIY Fidget Toys You Can Make Today
Every project below uses cheap supplies you probably have in a drawer somewhere. I’ve ordered them from easiest to hardest, so you can start with a five-minute win and work up to something more involved. Each one includes a materials list and numbered steps. Gather everything before you start, because kids have zero patience for mid-project supply hunts.
No-Sew Balloon Stress Ball
This is the classic starter DIY fidget toy, and it takes about ten minutes. The filling gives it a satisfying squish, and squeezing it works the hand muscles kids need for writing.
Materials: 2 balloons (one as backup), flour or rice, a plastic bottle, a small scoop, and a marker for decorating.
- Cut the top off a plastic bottle so the narrow spout remains. This becomes your funnel.
- Stretch the balloon over the bottle spout, then hold it firmly in place.
- Pour in about half a cup of flour or rice through the spout. Tap the bottle to help it settle.
- Pinch the balloon off the spout, push out extra air, and tie a tight knot.
- For durability, stretch a second balloon over the whole ball and tie it too.
Cleanup is simple if you work over a bowl or tray. Spilled flour wipes up with a damp cloth. One important note: uninflated balloons are a choking hazard for children under three, so keep finished balls and supplies away from toddlers.
Infinity Cube from Cardboard and Tape
An infinity cube flips inside out endlessly, and watching it turn never gets old. Kids love the motion, and it’s completely silent, which makes it classroom-friendly.
Materials: Thin cardboard (a cereal box works), scissors, strong tape like duct tape, and markers or stickers.
- Cut eight small cardboard squares, each about two inches across.
- Tape four squares together in a strip, then fold them into a 2×2 cube face and tape the seams.
- Repeat with the remaining four squares to make a second 2×2 panel.
- Tape the two panels together along one edge, hinging them like a book.
- Test the flip. Fold the panels over each other in different directions until the cube turns endlessly.
The trick is using tape hinges on both sides of the joints so the fold stays flexible. Once the structure works, hand over the markers. Decorating each face turns this into a two-part activity: build it, then design it. My kids treated theirs like a mini art project before the fidgeting even started.
DIY Fidget Spinner from Craft Sticks
The store version costs ten bucks. This one costs pocket change and spins surprisingly well.
Materials: 2 popsicle sticks, one skateboard bearing (or 3 washers), hot glue, and paint or washi tape.
- Glue the two craft sticks together in a flat stack to make them sturdier.
- Glue the bearing to the center of the sticks and hold it until the glue sets.
- Glue one washer on each end of the stick stack for weight, if you’re skipping a bearing on the outside.
- Let everything cool completely, then decorate with paint or tape.
- Pinch the center bearing between your thumb and finger, flick a stick, and watch it go.
No bearing on hand? Use a washer in the center instead and glue a small nut or coin on top. It spins a little slower but works fine. Hot glue guns get genuinely hot, so adults should handle gluing with younger kids, or use a low-temp glue gun with close supervision.
Beaded Keychain Fidget for Busy Hands
This one is part craft, part fidget. Threading beads builds fine motor control, and the finished piece is something kids can actually show off.
Materials: Pony beads, about 12 inches of cord or paracord, a key ring, and scissors.
- Fold the cord in half and loop it through the key ring, pulling the ends through to secure it.
- Thread beads onto both cord ends together or one at a time, depending on the pattern.
- Keep going until you have 8 to 12 beads, leaving an inch of cord free.
- Tie a double knot at the bottom and trim the excess.
- Clip it to a backpack zipper or lunchbox.
Suggest a color theme to make it interesting: school colors, rainbow order, or alternating two colors. Kids can slide the beads up and down while they think, which gives restless fingers something repetitive to do during long car rides or waiting rooms.
Quiet Paper Clip and Binder Clip Fidgets
Sometimes the best fidgets are the smallest ones. These are perfect for classroom desks because they make no noise at all, and they cost practically nothing.
For a paper clip chain, link four or five large paper clips together end to end. Bend and pinch each connection so they hold. Kids can twist the chain into shapes, link and unlink it, or squish it into a ball in their palm. You can also bend a single clip into a zigzag and slide a bead onto the middle bend so it spins back and forth.
For the binder clip version, slide a wooden bead onto the metal loop of a medium binder clip, or stretch a rubber band around the top. Kids press the loop or pluck the band. The clip grips the edge of a notebook or desk, so the fidget stays put during work time. Neither version will earn a student a lecture from the teacher.
Sensory Bottle Glitter Calm-Down Jar
This last one doubles as more than a fidget. Shaking it and watching the glitter settle works beautifully for bigger emotions, like the aftermath of a tantrum or a rough day at school.
Materials: A clear plastic water bottle, clear glue, warm water, fine glitter, food coloring, and strong tape or glue for the lid.
- Pour about a third of the bottle with clear glue. More glue means slower glitter.
- Fill the rest with warm water, leaving an inch of space at the top.
- Add a generous shake of glitter and a drop or two of food coloring.
- Screw the cap on tightly, then seal it with tape or glue so nothing leaks.
- Shake and watch the glitter drift down.
Give it a name like a “calm-down jar” so kids know what it’s for. When feelings get too big to talk about, shaking the bottle and waiting for the glitter to settle gives them something to do while their body catches up. Just remember the sealed-lid rule applies here too, especially around little siblings.
What to Put in a DIY Fidget Kit on a Budget
Before you start any of the projects above, it helps to build a small stash of supplies. Think of it as a fidget pantry: stock it once for under $5, and you’re covered for months of rainy afternoons.
Supplies You Probably Already Own
Half of these items live in your kitchen junk drawer right now. Before buying anything, hunt for:
- Balloons (leftover party bags work great)
- Rice, flour, or dried beans from the pantry
- Cardboard from cereal boxes and shipping packages
- Rubber bands from the mail pile
- Buttons, bottle caps, and paper clips rattling around in drawers
These cost you literally nothing. That’s the beauty of DIY fidget toys: the recycling bin is a free craft store.
Cheap Items Worth Buying
A few supplies cost a dollar or two at any dollar store or big-box retailer and unlock most of the projects in this post:
- Pony beads, about $2 for a big bag
- Pipe cleaners, around $1 to $2 per pack
- Duct tape, roughly $3, and one roll covers dozens of projects
- Zip ties and Velcro strips, usually $2 to $3 each
- Craft sticks, about $3 for a box of 100
- Skateboard bearings, around $3 at a hardware or skate shop (optional; washers work too)
Even buying everything on this list keeps you around $10 total, and each individual project stays well under the $5 mark. Compare that to a single store-bought fidget spinner.
Set Up a Fidget-Making Bin
Here’s the trick that makes this system stick: toss everything into one plastic bin and keep it on a shelf kids can reach. When boredom hits, they can pull out the bin and make a fidget on their own terms. Independence for them, fewer “I’m bored” announcements for you. Label the bin together so it feels official, and restock it whenever supplies run low. If you want more budget-friendly ways to keep kids busy, check out these cheap indoor activities for kids that pair perfectly with a craft bin afternoon.
A stocked kit also means lost fidgets stop mattering. One disappears into the backpack void? Your kid builds a replacement in ten minutes, for free.
How to Match the Right Fidget to the Right Person
A fidget that works wonders for one kid can be useless for another. The trick is matching the toy to the need, and that starts with watching what their hands already do. Does your child drum their fingers, chew their sleeve, or squeeze anything within reach? Each habit points to a different type of fidget.
Match the Fidget to the Need
Restless energy calls for motion. Spinners, infinity cubes, and bead chains give busy hands a repetitive task, which is exactly what a kid who taps and fidgets nonstop usually needs.
Anxiety and big emotions respond better to squeezing. A flour-filled stress ball or a soft balloon fidget gives nervous energy somewhere to go. Many kids find the slow release of squeezing and letting go calming, which is why therapists often recommend squeeze-type tools first.
Sensory seekers want texture and resistance. Beaded keychains, pipe cleaner twists, and rubber band pluckers deliver input that plain plastic spinners can’t.
Classroom settings demand quiet. Paper clip chains and binder clip fidgets win here because they make zero noise. A clicking fidget in a silent classroom might as well be an air horn.
Set Ground Rules Before Handing One Over
Fidgets are tools, not toys, and they only work when everyone knows it. A few simple rules keep things on track:
- Fidgets stay in hands or laps, never thrown or rolled.
- If the fidget becomes the main focus instead of the lesson, it gets put away.
- Teachers can hold onto the fidget during tests or independent reading if it stops helping.
That last rule matters more than parents realize. A fidget that constantly steals attention has crossed from helper to distraction, and the fix is as simple as swapping it for a quieter option.
Watch Out for Small Parts
One safety note deserves bold text: fidgets with beads, buttons, or small clips pose choking hazards for kids under three. Keep those versions out of reach of little siblings, and check homemade fidgets regularly for loose parts. A stress ball with a worn balloon can leak filling fast.
Start with two or three types, watch what actually gets used, and let your kid help decide what earns a permanent spot in their desk or backpack.
Common Mistakes to Avoid When Making Fidget Toys at Home
DIY fidgets are forgiving, but a few easy slip-ups can turn a fun afternoon craft into a toy that breaks, distracts, or gets tossed by Friday. Here’s what to watch for before you hand one over.
Weak Materials and Skipped Testing
The most common failure is flimsy construction. A single balloon stretched over flour will pop within days, which is why the two-balloon method matters. Thin tape hinges on an infinity cube will peel apart after a week of flipping. Spend the extra dollar on duct tape and double-layer your materials; it doubles the lifespan of almost every project here.
Always run a durability test before the fidget goes to school. Squeeze the stress ball hard twenty times. Flip the cube fifty times. Yank the beaded keychain like a kid would. If something loosens, leaks, or snaps during your test, it will fail faster in a backpack.
Too Much Noise, Too Many Options
A clicking fidget in a silent classroom causes more trouble than no fidget at all. Match the noise level to the setting: paper clips and bead sliders for school, spinners and stress balls for home.
Resist building ten varieties at once, too. Kids overwhelmed by choices rotate through them constantly and settle on none. One or two well-made fidgets get used; a drawer full of mediocre ones gets ignored. If you’re stuck on which style fits your child best, the guide to matching the right fidget to the right person covers it in detail.
Embrace the Imperfect Ones
Your first stress ball will look lumpy. The cube will flip slightly crooked. That’s fine. A homemade fidget your kid helped build and decorated themselves will get used more than any perfect store-bought version, and rebuilding a worn-out one costs ten minutes and pocket change. Imperfect and loved beats polished and forgotten every time.
Conclusion
DIY fidget toys check every box for busy parents. They cost pocket change, they keep restless hands busy, and they can be tailored to exactly what your child needs, whether that’s a quiet classroom fidget or a squishy stress ball for anxious afternoons. Best of all, kids who build their own toys actually use them.
If you’re not sure where to start, go with the no-sew balloon stress ball. It takes ten minutes, uses flour and balloons you probably already own, and almost never fails. This weekend, clear the kitchen table, pick one project from this list, and gather your supplies before you sit down.
Then make it together. The fidget itself is nice, but the hour spent building (and decorating, and testing) something side by side is the part your kids will remember. One balloon, one afternoon, and a toy they’ll be proud to pull out of their backpack.
Save pin for later

- 100 Toddler Activities At Home - September 24, 2026
- DIY Fidget Toys - September 24, 2026
- Baby Shower Games Ideas - September 24, 2026